Sunday 29 November 2020

Grumpy Cat does Christmas

 When I saw the inspiration photo at Inkspirational this time, I knew I just had to use  the Grumpy Cat stamp from the Katzelkraft "Les Chats Russes" set. 


I stamped him on separate card and coloured him with Promarkers then fussy cut. I added red card as a base for him to sit on, topped with a Dylisions sentiment and edged with silver glitter,  then surrounded him with stamped baubles and foliage. 

I am sharing this with 

Inkspirational - photo 


Rudolph Days at Scrappymo's 

Show us your Pussycats - Furrything Goes 

Crafty Hazelnut's Christmas Challenge - anything goes 

Friday 27 November 2020

Fishing village

 I've spent ages trying to work out where this scene is meant to be - it reminds me so much of Mousehole in Cornwall, but the fishing boat has a WY registration, which stands for Whitby, in Yorkshire. Yet the stonework on the buildings looks as if it's the Cotswolds - which has no coastline! So I think it's just a general purpose English fishing village. 

Wherever it is - or indeed isn't - the decoupage and sentiment were printed from that faithful old workhorse of a CD, The best of La Pashe 2012. I wonder how many times i have used that over the years? 


That background is the result of a failed experiment. I sprayed a square of card with orange and brown distress effects,  then tried to get a crumbling brickwork effect by applying crackle glaze through a brick wall stencil and leaving it to dry. However when dried, the glaze just fell off, taking most of the ink with it. I do like the effect it created, although I'm sure there's a more straightforward way of creating something similar. Anyway, it makes a good background for the image, so it wasn't wasted. 

I am sharing this with The CD Sunday Plus Challenge, where as usual the theme is Anything Goes 


Sunday 22 November 2020

Cakes and rainbows

 For once, I was actually ready and waiting before the playground gates opened, so I popped over here to publish the post - and realised I'd not actually written it yet. So here goes....


The background is made from snippets of brightly coloured paper 1cm wide. I cut a piece of card a little larger than I wanted the finished panel to be, covered it with tacky glue then arranged the snippets diagonally over it, carefully butting the edges. I'd chosen paper rather than card so there wouldn't be any bulky ridges if  I overlapped any bits. Once the glue was fully dry, I cut it out using a stiched square die. 

I stamped the cake and strawberries, using stamps from a set that was in the December 2018 issue of Creative Stamping, and coloured them with Promarkers. Can you guess what I was humming as I coloured "all the sweet green icing running down"?  Then I cut them out and die cut the sentiment, and arranged everything on the card front. 

I am sharing this with: 

AAA Birthday - For a Child 


Fab'N'Funky - Hand stamped or die cut sentiment 

Pixie's Snippets Playground - Challenge 391  

Retro Rubber - They Said it's Your Birthday  


Sweet Stampin' - Birthdays 

Wednesday 18 November 2020

Pink Lady

 Oh no, I hear you groan, she's STILL playing with that Indigo Blu magazine kit! Well, I'm sorry but it just is the most beautiful stamp set ever and the stencil and embossing folder work perfectly with it. 


It's hard to choose a favourite stamp, looking back over the years, but this lady is definitely my current favourite. 

To make the card, I smooshed the background card with several shades of pink distress ink. When it was dry, I stamped the lady in the middle, masked off the image and used the darkest shade of pink ink to stencil the background. 

Then I used the embossing folder on opposite corners of the card.  This caused a problem I should have foreseen - the way the embossing folder sits on the card, the blank area on it squashes and flattens par of the embossing that's already done. There's probably a work-around but I couldn't think of it. 

Luckily I'd picked up the last of the smooshing inks on a scrap of spare card, for future use, so I embossed that as well. Then I fussy cut the corner on the main card and the whole of the second corner and distressed all the straight edges. I used a lighter brown ink to sponge the raised surface of the embossing and all the cut edges, then I used a thin layer of 3D adhesive to add the second corner to make it look as if she is peeping out from behind it. 

I am sharing this with 

Sweet Stampin - Your favourite stamp 

Sparkles Monthly - Use a stencil 

Colour Hues - Pink and Brown 


Sunday 15 November 2020

Christmas Penguins

 Many years ago, before I started this blog, a friend was doing some charity fundraising and wanted as many penguin themed Christmas cards as possible. I had no penguin themed stash so tootled off to Crafts U Print and downloaded an assortment of penguin themed designs, so I could churn out a bundle of quick and easy cards for her. 

And there those designs have sat, on my computer, ever since that first set of projects. Until the need arose for a penguin themed card, over at Sisterhood of Snarky Stampers. But how the heck do you make a penguin snarky? Well, I thought about a t-shirt design I've often seen at Christmas time, but changed the first person sentiment to a second person one to make it more suitable for a card to send, and printed that out as well as my download. Naturally I had to choose my font carefully - Mark is getting used to me asking questions like "If you were a penguin, what font would you use?" 


The download makes a tri-fold card, but it's one that folds the opposite way from what I'm used to, I generally keep the tall panel to the right. I know there are no roolz about things like that, but even so next time I use it I might try flipping the whole image before I print it. 

I'm sharing this with

CD Sunday Plus - anything goes using a CD, download or USB  

The Sisterhood of Snarky Stampers - P is for Penguin 


Friday 13 November 2020

Seeing stars!

 This month's challenge at Twofers is Stars, and I decided to go for dies rather than stamps this time as I really wanted to practise my night sky backgrounds and knew  these die cuts stars (sorry, I can't remember the brand) would stand out well. 


The first card is made with a background of blended distress inks splattered with dilute white gesso. 


I die cut the stars and sentiment in white, then covered the word "sparkle" with adhesive and coated it in white glitter, and coated the word "shine" with glossy accents - so they really do sparkle and shine. 

I am sharing this card with Inkspirational - Night 


The second card is the fashionable slim shape 


I sponged an arc of blue  right across the card and stamped and embossed the sentiment in the white space.  I really can't seem to find a silver ink/powder combo that works. Even the normally ultra-reliable  combo of WOW powder and WOW embossing pad lets me down. It's left me with a slightly distressed look -  so it's perhaps a good thing that I forgot to use my anti-static pad, contributing even more to the distressed effect. Let's pretend it was deliberate, shall we? 

I am sharing this with

Crafty Hazelnut's Christmas Challenge where I thought the theme was "use a sentiment" but that was last week, wasn't it? So I'm using the Anything goes option. 

Craft Rocket Challenge - Christmas/Winter  

Cardz for Galz - Silver and/or Gold  


And finally back to the two cards together which I am staring at the Twofers Card Challenge  


Thursday 12 November 2020

Playing with old dies

I'm sure this is something we are all guilty of - as our collection of craft supplies grows, the older things whether they are stamps, dies or anything else, tend to get neglected. Today I dug out some of the dies I bought to make my Mum's 80th birthday card with - I've hardly ever used then since and she is almost 95 now! 

And dies and snippets are a perfect combo, so I fished in the snippets box and dug out a scrap of patterned paper and some bright plains to go with it. 


The sentiment is from a HOTP set that I bought in my QVC watching days, so that must be about 20 years old! 

I am sharing this with 

Pixie's Snippets Playground Challenge 390  

Shopping Our stash - Tic Tac Toe  - I've used the middle horizontal line 


Monday 9 November 2020

Review: Hare Box Christmas Gift

 Something a little different from me today - it's a long, long time since I have published a review, but I'd really love to share with you the work of a family friend, fellow crafter and very talented artist Philippa Bandurek Bradbury. Recently Philippa has started to have some of her artwork made into beautiful cards and gifts, which you can see in her Etsy shop, Studio PBB


Philippa has sent me her Deluxe Hare Gift Box so I can tell you about it.

The star of the gift box is a beautiful apron, perfect for all that festive baking. 


(Oops, I really ought to have ironed mine before I took the photo!). The neck strap is adjustable and there is a useful pocket on the front. It's both beautiful and practical. 

The gift set also includes a print of the hare image, ready to slip into a standard sized frame, and three greetings cards in the hare design. It's a beautiful gift at £29.99, and this year in particular with less chance to visit friends and family, the fact that it comes in a letterbox friendly gift box, and can even be gift wrapped, is a real bonus. 


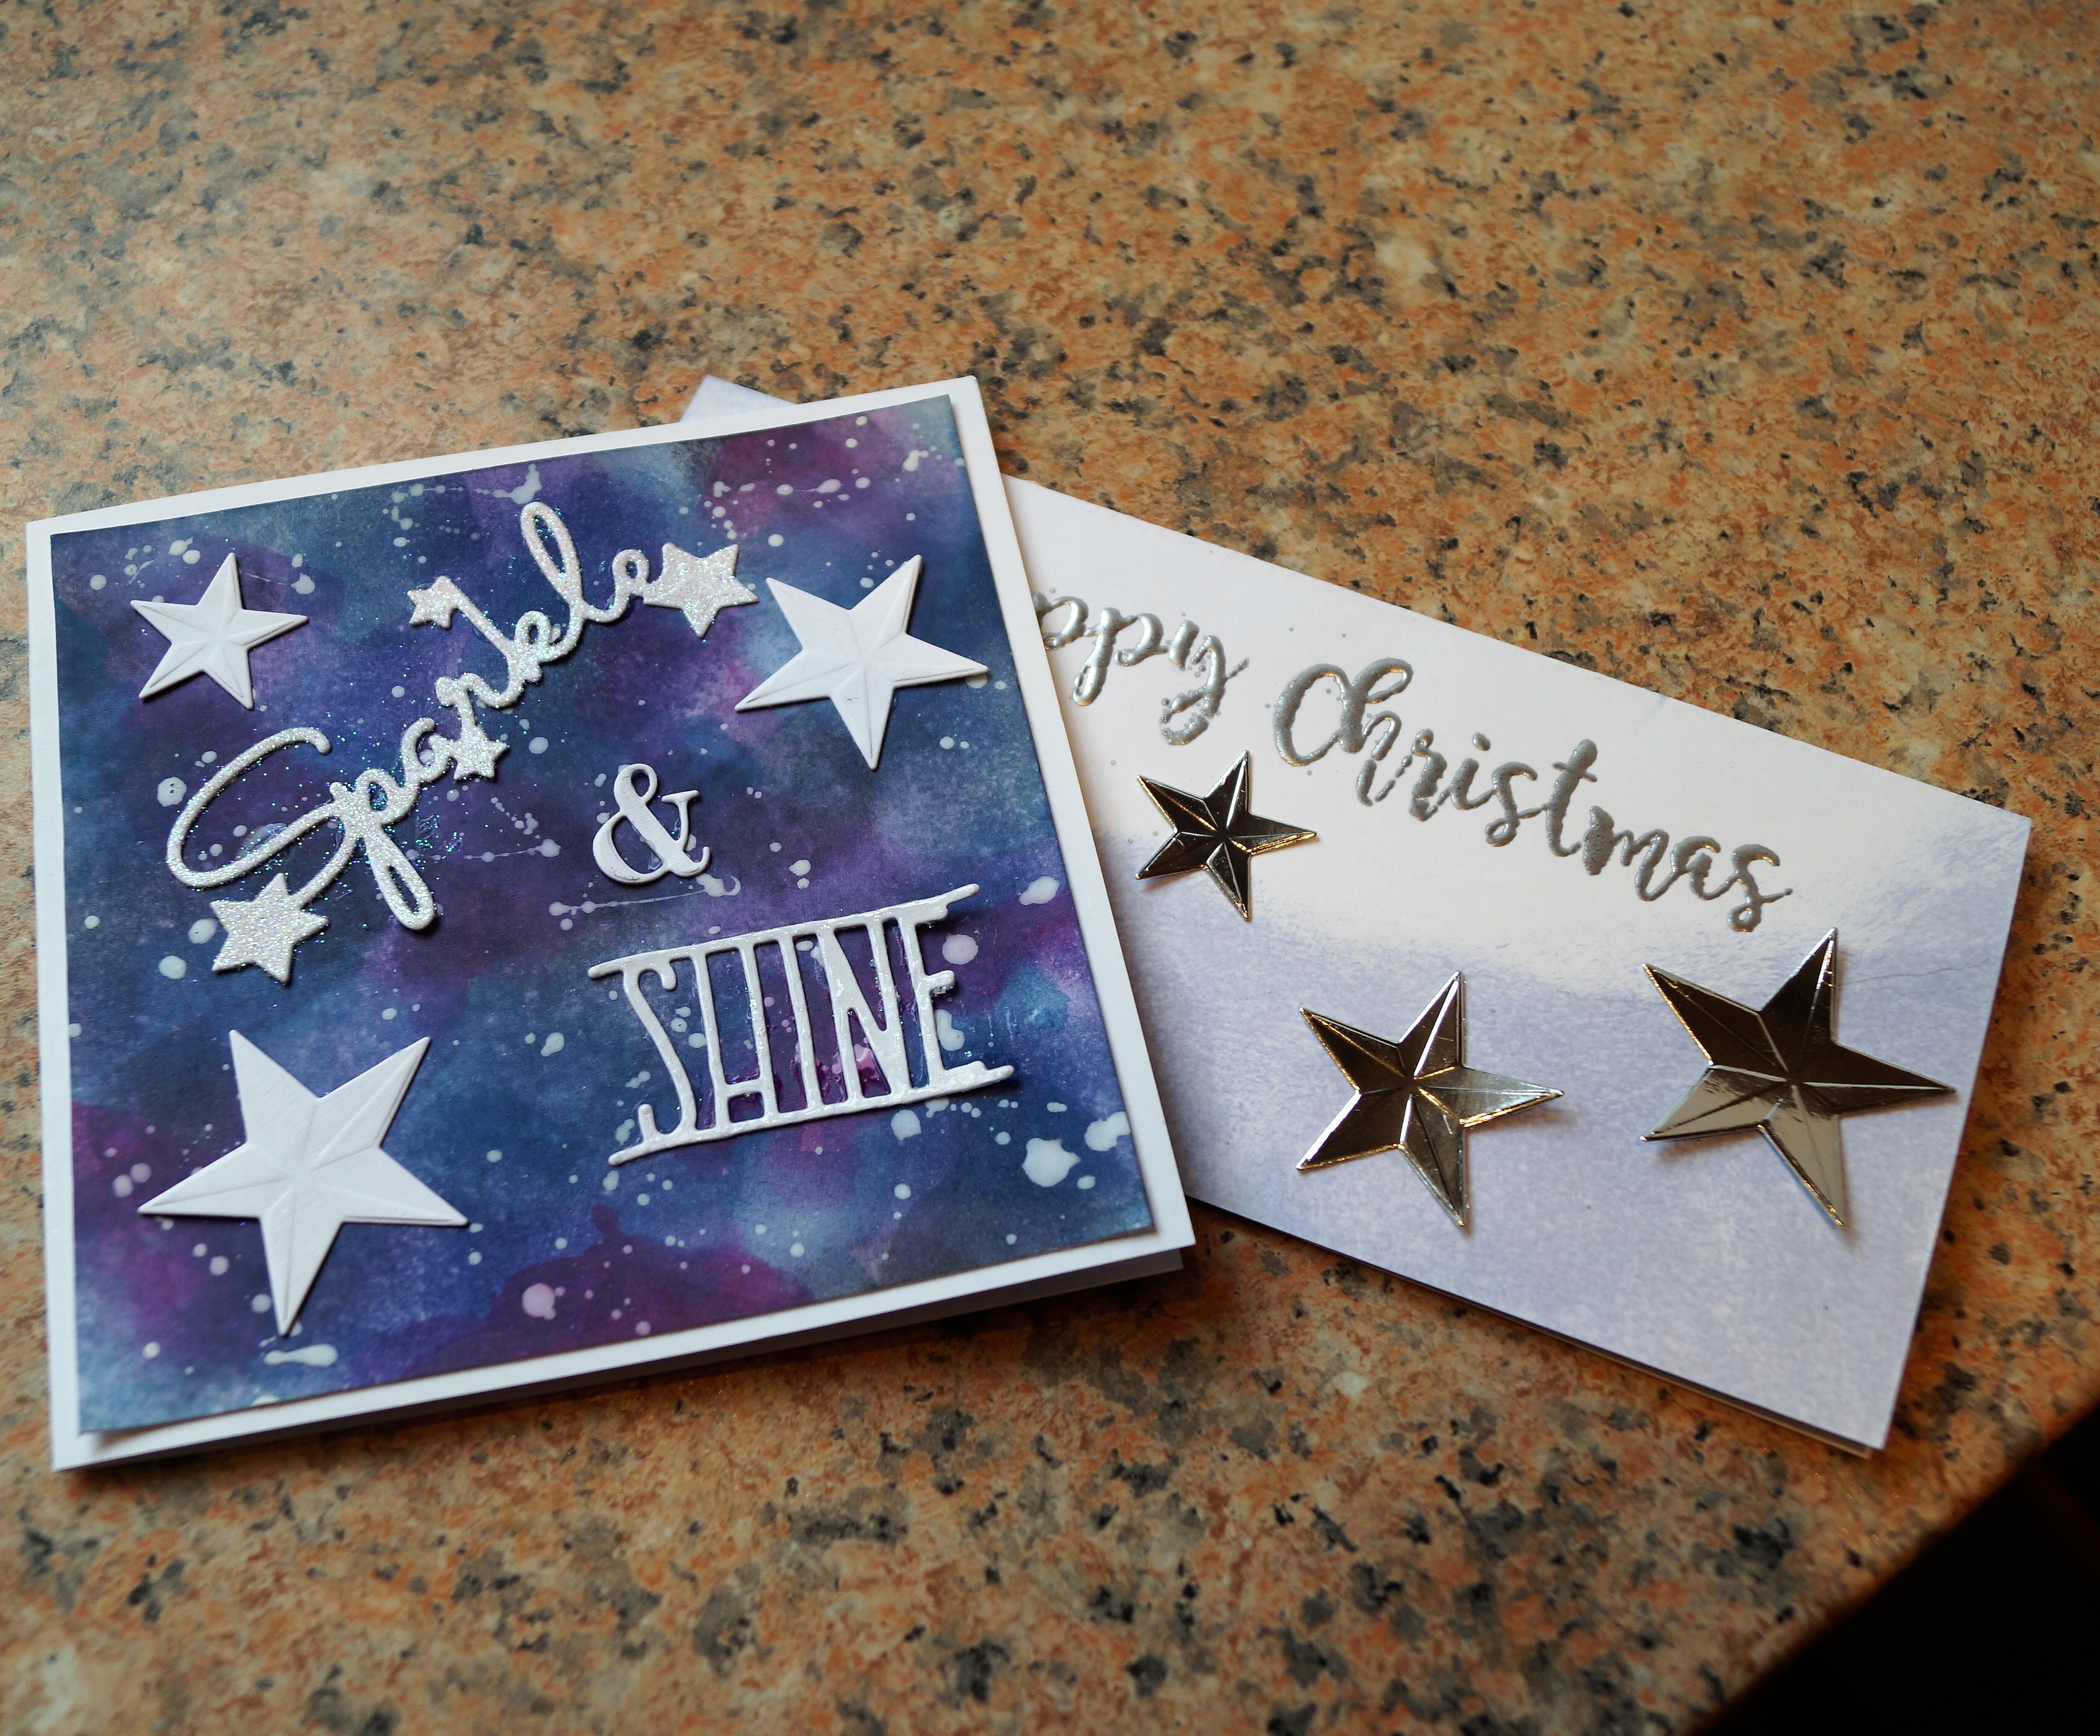
Philippa also sells greetings cards and sent me two of her stunning Christmas Cards, which are available singly or in multipacks. 


Aren't they gorgeous? 

You can see more of Philippa's beautiful work on her Instagram account  - much of what she shares there isn't for general sale, but for fellow crafters there's some breathtaking inspiration. And i believe she is open to special commissions too. 

Now, for an extra treat, how about trying to win one of the Hare Aprons for yourself? 

There are two competitions currently running, offering an apron as a prize. 

One is on the blog Fun As A Gran and closes on November 16th 

The other is on the blog Life, Ninjakillercat and Everything Else and closes on November 30th 

Good luck if you enter them (both UK only I'm afraid, due to postage costs) 


Friday 6 November 2020

On Christmas Eve

 On Christmas Eve at sunset, you may be lucky enough to catch a glimpse of Santa heading across the sky.... 


.... but only if you believe in the magic! 

For the sunset, I masked off the lower half of the card then punched a circle in scrap paper, reserving the circle, and used it as a stencil to ink the setting sun slipping down over the horizon. blending yellow, orange and red inks. Then I removed the stencil, covered the sun with the reserved circle of paper and lightly blended the same inks around the outside to create the sunset sky. 

Then I stamped the scene and sentiment, using stamps from an old issue of Creative Stamping. 

I am sharing this with 

Crafty Hazelnut's Christmas Challenge - anything goes  

CASOlogy - Sunset  


CAS Christmas - Non traditional colours  


CAS on Friday - Christmas 

Faux Fox

Everything went wrong with this card! But I'm still sharing it because of the idea and because of all the time and swearing that went into the making of it. 


It's for the Sisterhood of Snarky Stampers "X is for fauX" challenge. I know I've already played once, but this is the card that was in the back of my mind all along, it's just taken so many attempts I didn't know whether it was actually going to become reality. 


Many, many years ago I was a compulsive cross stitcher, until I discovered rubberstamping. That sounds like the old Smirnoff ads, doesn't it? "She used to be a cross stitcher, until she discovered Smirnoff...." (for those who don't know, Smirnoff is a brand of vodka and the kind of ads they had in the 1970s would be banned now). Anyway, stamping is probably as addictive as vodka, but no stamps were inked in the making of this card. 

Which is a very long way of saying I have, for about 30 years, had an NBUS sheet of 14 count cross-stitch paper so I decided to use it with fineliners do do some faux cross stitch. What I didn't realise is how much smaller and closer together the holes have got over the last 30 years - nothing to do with my eyesight of course - and the number of attempts it took me to follow the blooming chart and produce the fox and lettering was so crazy that in the end they all ended up being done on separate scraps because I'd wasted so much of the paper there wasn't space to do it sampler-style as I'd originally intended. 

So all these bits needed a background, and while I was still thinking of faux things, what about using an embossing folder for some faux knitting? The buttons, however, are real. 

Thursday 5 November 2020

Remembrance

No, not Remembrance Day although this is the right time of year for it, but the steam locomotive Remembrance - I thought it seemed an appropriate image to use this week because of the name. 


I  made an easel card using papers and a topper from Hunkydory's "Planes, Trains and Automobiles"  collection and added some twine and a peel-off sentiment. 

I am sharing this with

Cardz 4 Guyz - Adult male birthday 

Crafty Hazelnut's Patterned Paper Challenge - Anything Goes  


Make my Monday - Masculine 

Tuesday 3 November 2020

Back to the Indigo Blu Kit!

 I just can't get enough of this kit! 


This time I've used the hot air balloon stamp again. I used two of my favourite colours, turquoise and green, colours that make me think of nature and the countryside - and of course are perfect for a balloon, floating between earth and sky. I smooshed them to cover my piece of card then stamped the balloon and sentiment in the centre. I used the embossing folder from the kit to emboss one corner, then fussy cut around the embossing and distressed the remaining edges. I stencilled some dots of turquoise around the remaining spade, then I lightly sponged black ink over the embossing and around the edges then added a few smudges of it here and there,  then added the panel to me base card. 

I am sharing this with 

A bit more time to craft - Anything goes

Fab'n'Funky - 500th challenge celebration - your favourite two colours and why