Friday 31 October 2014

My first ever blog candy!

Onions and Paper is 2½ years old yet I've never given away any candy - which considering how much I love competitions in my "other life" is very remiss of me!

But that's all about to change, because the lovely Gill (who I first met through our love of competitions) from FoilPlay  has offered me FIVE  Kanban lucky dip packs to give away. Each pack will contain around 20 sheets and be a mixture of Christmas and everyday designs.


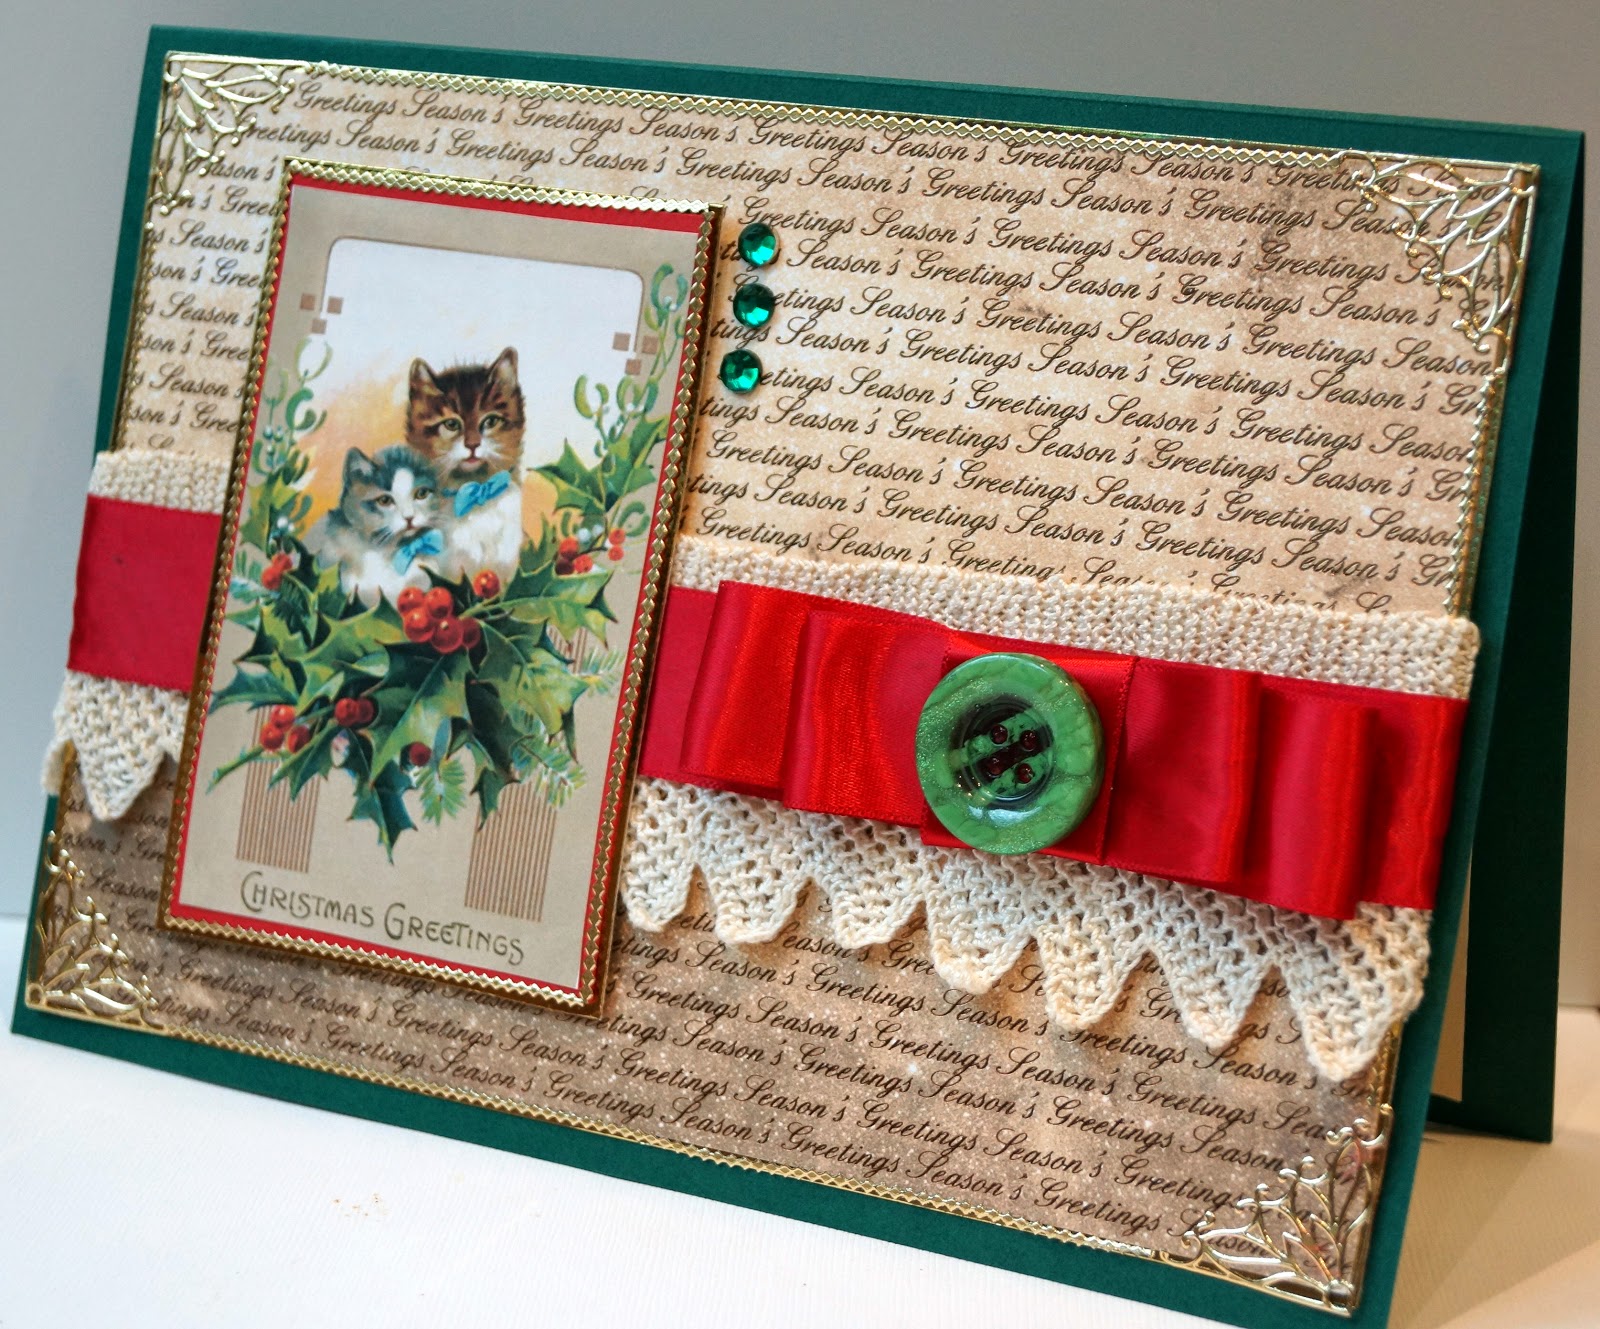
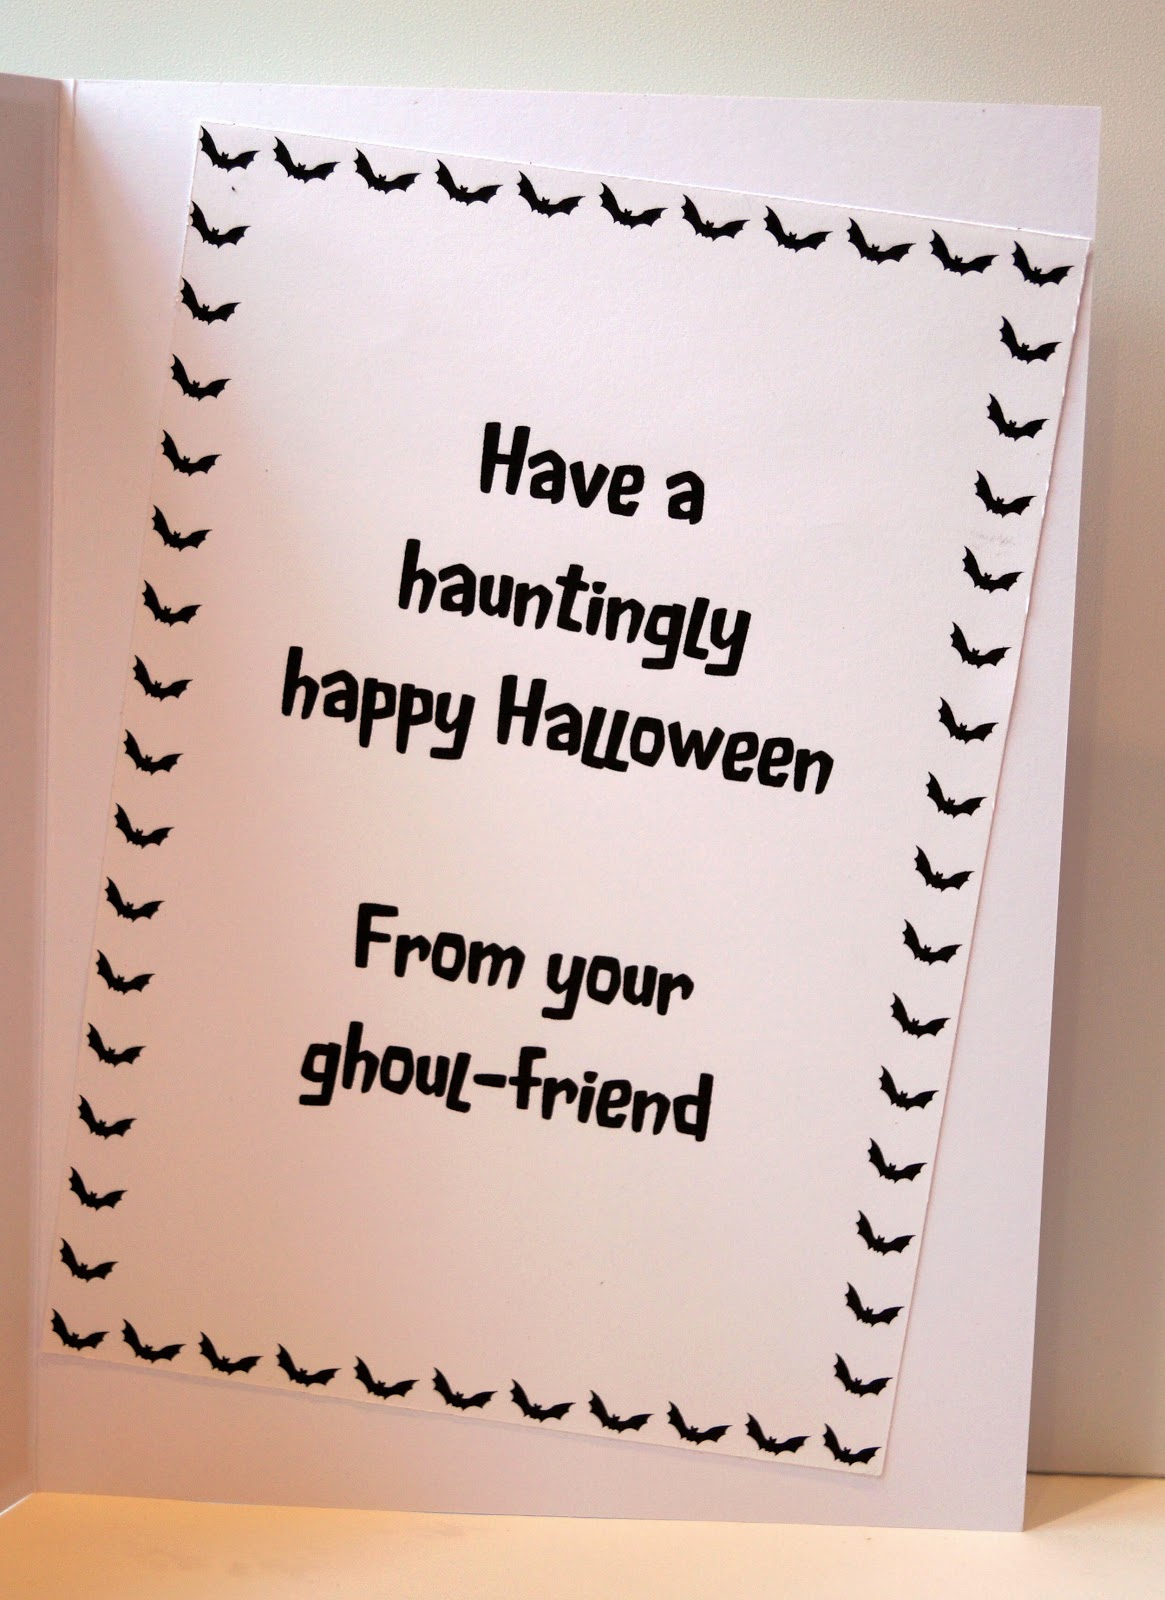
Every pack will be different, but the pictures give you an idea of the scrumptious selection that was in the pack that Gill very kindly sent to me. You could get toppers:
trimmings:

or even a sheet containing everything you will need to make a complete card:


I reckon I'll be able to make at least 40 card from my pack of goodies. If you'd like the chance to get your hands on a pack, follow the instructions below:

Click on the blue button to add your name and email address. As I know a lot of you who read this don't have blogs of your own, I've not made the blog URL field compulsory - but if you DO have a blog, whatever you blog about, I'd love it if you included it so I can pop over and say hello!

Please only enter once, if you enter more than once, only one entry will be counted.

Because of the cost of postage, this candy is only open to UK residents.

The giveaway will close on  October 31st at midnight and this post will remain pinned to the top of the blog until then (scroll down if you want to see what's happening in between times!). I'm hoping that the linky will allow me to contact the winners by email but I've never used one before, so just in case it doesn't, please, please PLEASE check back here on November 1st when the winners names will be announced. As an extra aid to help me contact you, it would help me a lot if you leave your name and Twitter name in the comments.

Because it's my first candy, and open to non-bloggers as well as bloggers, I'm not going to make any sharing or following compulsory - but also because it's my first, I'd really like word spread far and wide, so please DO consider sharing this with your friends, mentioning it on your blog or Facebook page or on any forum s you belong to.

And if you'd like to follow me, using the Bloglovin, GFC or email sign up options on the right, I'd love you forever!

Thursday 30 October 2014

You can't get the wood, you know!

And if you know what I'm talking about, you've just given away your age big time! (If you DON'T know what I'm talking about, it's a quote from the 1950s radio sensation The Goon Show which starred the comedy legends  Harry Secombe, Michael Bentine and Spike Milligan)

Anyway, enough rambling, here is my card for the current challenge at The Male Room, which is Wood. And is the reason I've been muttering "You can't get the wood, you know!" under my breath all day.

I decided to make a card that gave a "garden shed" impression,  using elements of the Dovecraft Curiousity Corner collection. The border, wood-effect "notice board", words and leaves are all cut from two different sizes of the backing papers, and the wooden watering can has been darkened with distress ink. Even the buttons are wood effect!


I'm also going to join in with Home Made Thursday at White Lily Green because it's FAR too long since I did so!

Homemade Thursday

Looking back over 2014, I enjoyed making this more than any other card this year - you know how sometimes things just come together and look even better than they did in your imagination? So I'm backlinking this to the "Your favourite card" challenge at Clear It Out Challenges.

Yet more de-stashing!

I've been chipping away at the stash mountain again. This time I was looking around for orange bits and pieces for the current "Orange" challenge at Clear it Out Challenge blog and came across a handful of offcuts of co-ordinating papers left from a project a couple of years  ago. They were predominantly orange, with hints of lemon, white, pale blue and turquoise. I covered the base card with the contrasting paper, which was mostly turquoise with all the other colours used in the pattern.

I scrabbled around a bit more and found some tiny scraps of plain card to match some of the colours, and die cut a flower, leaves and a large circle from the plain card.

Then I cut two of the papers into 12cm x 1cm strips and wove them together into a square. To make this easier, it's a good idea to secure the first and last strips in each row and column with a dab of glue. When the square was complete, I stuck double sided adhesive sheet onto the back then die cut it into a circle.

I finished the card off with a ring of orange Candi around the outer circle.


I'm joining in with
Clear It Out Challenge - Orange
Crafty Hazelnut's Patterned Paper Challenge - October
Pixie's Snippets Playground - Week 148

And do you know, while uploading these photos I've decided it needs just one more piece of Candi towards the top right, so I'd better go and add it right away!

Wednesday 29 October 2014

Christmas Kitties

So, after that brief break, back to the de-stashing. And the topper on this card is from a sheet of images I printed out last Christmas, to make my mother's card, from the Joanna Sheen "Victorian Christmas Cards" CD. The "Season's Greetings" background is left over from a QVC kit I bought years ago - I think I'm now down to three toppers and one background left over from that kit  so I reckon it will be used up by Christmas - and even the green base card is left over from the wedding invitations I made for my younger daughter, who has been married for over 4 years now. The ribbon was rescued from a box of chocolates and the lace came to me in a RAK.

I mounted the image and background onto a layer of gold card and then edged with peel-offs, which completely cover the gold but just give the border a more substantial texture - it's easier to see in real life than on the photo.


I'm joining in with

Craft Room Challenge - A Vintage Christmas
Christmas Cards All Year Round - Embellish It!
Crafty Creations Challenges - Brads, Buttons or Bows
Craft Hoarders Anonymous (my first visit to this challenge) - Layer it!     

Piles of presents

I've taken a bit of a break from the de-stashing to make a Clean And Simple Christmas card. The parcel stamp was a magazine freebie a few years ago - it's just a single parcel, but I masked it off and stamped four times to give a tumbling pile of parcels.

Once I'd finished stamping, the fussy pattern on the parcel meant that all the parcels in the pile seemed to merge into one, so I decided to outline each one with a black gel pen - and it looked so effective that I carried on and outlined the ribbons and bows on the parcels too.


I'm playing along with

CAS on Sunday - Challenge #45 One Layer Wonder
Addicted to Stamps and More -  Challenge #119 - CAS
Festive Friday - Challenge #43  this photo:
 

Tuesday 28 October 2014

Playing prettily

I have long been in awe of the beautiful creations that the talented Teresa shares on her blog Craftingallday Creations and have longed to try one of her trademark crossover cards enclosing a tag, but as most of you know by now, I'm not awfully good at pretty! However  the stash sort-out continues, and I came across a booklet of very pretty shabby  chic style papers that came free with a magazine some time back in the dark ages, and decided it was about time to have a go! I don't have the skill, stash or patience to replicate one of Teresa's detailed pieces, but I copied the crossover style and made a simple tag to go inside it. The sentiment is stamped with Anna Griffin stamps then cut with a Spellbinders die that had never left the packet before (shame on me!). The gorgeous flower embellishments were a prize from CD Sundays.

I kept the envelope simple as I'll be wanting to send this card by post, although I'll probably still enclose the whole thing in a jiffy bag. I gave the envelope a bit of depth by scoring each line twice a few mm apart.


I'm joining in with
Make My Monday - Shabby Chic
Anything Goes With a Twist - A Touch of Pink

Suits you, sir!

This week at Cardz 4 Guyz we'd like to see some metal used on your card. I've used some metal button brads along with papers and decoupage from the Docrafts Heritage Press range. The finished effect reminds me an awful lot of the outfit worn by one of my physics lecturers when I was at University!


I
I'm joining in with

Alphabet Challenge Blog - S is for Stitching (real or faux) 

Sunday 26 October 2014

The Carol Singers

It won't be very long before the new La Pashe CD is launched - the Best of La Pashe 2014. And among the designs featured on it, there will be a brand new selection of decoupage designs for Christmas 2014. If you can't wait to get hold of them, they are already available for individual download from the La Pashe site. But the CD will also have a great selection of backing papers, one of which I have used on this card, along with the Christmas Carolling decoupage.

The decoupage is quite simple to cut out, with no tricky inside bits or delicate flimsy areas, making it ideal to use on a quick and easy card like this. A few sparkly peel-off borders are all that need to be added. It's probably quicker than popping out to the shops to buy a card.

I've used one of the Christmas verse inserts from La Pashe to give an extra-quick inside to the card too. Even an absolute beginner could create a striking card in next-to-no-time with these products!


I'm joining in with Crafty Hazelnut's Christmas Challenge - If you want to get ahead, get a hat.

Just Because......

I don't know why, but for a while now I've been determined to use a DL shaped card in a CAS way. We don't often see cards made this way - I suppose it's because the open space is  harder to manage.
Anyway, I'd already decided to make a diagonal square background of newsprint for this week's recipe "Newsprint" at Less is More, and top it with an embossed butterfly for the "Emboss your butterfly" challenge at Butterfly Challenge,  so I thought I'd give the DL shape a try.

If I'd been making a square card, I'd have mounted the butterfly centrally on the newsprint panel, but after playing around with it I thought on the DL card it looked too heavy on the left if I kept the butterfly on the panel. Letting it flutter off to one side, as if it was flying back to rest after reading the sentiment, gave the whole card a much more satisfying feeling of balance.


The newsprint and sentiment are from the Dovecraft Curiosity Corner range,  and the butterfly is cut and embossed from Core-dinations card using my old favourite Cuttlebug butterfly die and embossing folder.

Thinking of You

The current challenge at CD Sundays is "Silhouettes". I thought I had loads of silhouettes on CDs, I can even picture the images, but the CD fairy must be hiding them from me! Luckily I could turn to my old faithful "The Best of La Pashe 2012" where there is a small but useful collection of silhouette cameo designs.

I printed one of the sheets out onto glossy photo paper and combined it with lots of bits and pieces of  leftovers from the old kits I was sorting out earlier (see my previous post). I'm going to get to the bottom of my odds and ends box by hook or by crook! (But I make no promises about when....)


I'm joining in with

CD Sundays- Silhouettes
Pixies Snippets Playground - week 148
Crafty Creations Challenges - Thinking of You
Sketch Saturday - week #333 this sketch

I'm dreaming of a gold Christmas.....

Today I rummaged DEEP into my stash and came up with the remnants of a Hunkydory Christmas kit I bought several years ago. You know how it is with a kit - once the inspiration has fled, the last few bits can hang around for ages until they start to look too tired to use and end up in the recycling bin. So I thought I'd have a play and see what I can finish up before the remains go to the great stash-pile in the sky.....

I didn't have an oval die big enough to make a mat for the sentiment, so I used that well-known cop-out, the deckle edged scissors. After all, when an edge is SUPPOSED to look wonky, who could complain when it isn't the same all the way round?

In all the years I've had the kit, I've never thought before of layering up the snowflake die cuts to add interest. What a pity I only thought of it when there were just a handful left!

We all need a few extra-quick to make cards in the run-up to Christmas, and this was ideal for the job.


Well, I don't know about love with all the trimmings, that's put me in mind of roast turkey with all the trimmings.....

I'm joining in with  these challenges
Christmas Card Challenge - Anything Goes
Winter Wonderland - Gold Christmas
Completely Christmas - Anything Goes with a Twist  - Add a Sentiment
Oldie But a Goodie - Christmas

Tuesday 21 October 2014

It's spooky!

It's almost Halloween - so the latest challenge at Cardz 4 Guyz is "It's spooky - Halloween"

I'm having problems with Blogger so I hope this works..... I'm playing along with Halloween at The Male Room http://themaleroomchallengeblog.blogspot.co.uk/2014/10/challenge-21-halloween.html and Halloween at Make My Monday http://mimchallegeblog.blogspot.co.uk/2014/10/halloween.html

We've never really bothered much with Halloween in our family, so I don't have any suitable stash - no stamps, no dies, no stickers and no toppers. But I did have a set of papers in purple, black, orange and white which are very "Halloweeny" colours so I set out to have a look around the internet to see what help I could find.

I'd already spotted a great idea for making a cobweb from glitter glue on the Purple Pumpkin Blog, and wanted to give it a try, so I printed off the template and followed the simple instructions to make a gorgeous purple sparkly cobweb.

Next, I searched for  suitable digis. I didn't really want to spend a lot of money on one that I'd probably never use again, so I was delighted to find a blog entirely devoted to listing and linking to free digis. Free Digital Stamps is going to be the first place I look in future! This time it told me about the ghost pennant cutting file available at Bird's Cards. This is meant for an electronic cutting machine, but there is a pdf file available so I printed that out at 70% to give a pennant that would fit comfortably on an A5 card. Then I cut out the image and mounted it on to black card. I didn't go as far as cutting out the eye and mouth holes, I just coloured them in with a black marker and also used the marker to cover any uneven bits of the cut edges. Which made me realise that it would have been much easier if I'd simply coloured in the spaces rather than cutting them out!

With some of my chosen papers matted and layered behind the pennant and cobweb, here is my spooky card


To finish it off, I used Word to create a greeting for the inside. There are some real treasures tucked away in the borders section of the programme, and along with the delightfully named font "Fluffy Slacks BTN" which I got from a magazine's free cover disc, it only took moments to create this:


I'm experimenting with sharing a Word document on line, so if you'd like to print the insert page to use in your own card, this link just might work https://onedrive.live.com/redir?resid=647F08507DB399E7%21174  - I hope it does. In my own tests it came up with the bat border but a slightly different font - feel free to play around with it once you've downloaded it!

Perfect to send to your boyfriend this Halloween!http://mimchallegeblog.blogspot.co.uk/2014/10/halloween.html

Saturday 18 October 2014

Snowy Sky

I once saw a background something like this in a craft magazine and have been "going to get around to" trying it ever since. The "Make your own background" challenge at Craft Room Challenge finally gave me the impetus I needed.

I started with a piece of white card the same size as my base card (so that I could later trim it to size, removing any edges that had got messy where I'd been holding the card) and stamped small swirls and clusters of snowflakes all over using clear ink embossed with clear embossing powder. If you wanted a more strongly defined look, you could use white instead of clear.

I then sponged all over in various shades of blue dye inks, ranging from a slightly  purply one to a turquoisey one, and keeping the darker shades mostly towards the outside. I buffed the whole surface hard with a tissue to remove any stray ink from the embossing, then gave it a blast with the heat gun to make sure it was completely dry.

Next I stamped all over in white ink with a stamp of tiny random dots. You could use a Versamark  pen to give a similar effect. I sprinkled this with hologram embossing powder. Then I stamped the larger snowflakes in silver ink and sprinkled them with silver embossing powder. I didn't heat-set the hologram powder before I did this, partly because hologram powder burns easily and wouldn't like to be heated a second time, and partly because I wanted a tin y bit of the silver to be picked up by any dots that hadn't been fully saturated with hologram powder, just to give it a little extra sparkle. So both lots of stamping were heated at the same time.

After trimming the edges, all the card needed to finish it off was a little ribbon and a die cut snowflake.

I've photographed it in several different light conditions as each seemed to emphasise a different aspect of the background.


A quick Christmas card

Still speed-crafting before I go away for a week, here's a very quick Christmas card. I've used toppers from two Buzzcraft sheets, intended to be for a waterfall card, available from Foil Play. The border is from one of the sheets. The red metallic twine is from an unopened pack I found in the bottom of a drawer while searching for a replacement Xyron cartridge for use on the card in my previous post. It was a whole selection of festive twines and braids, languishing unused for goodness knows how long because for some reason I'd filed it under "adhesives" rather than "Christmas". Goodness knows why, but it meant there was a lovely surprise waiting for me.


I've based it on this sketch from Completely Christmas Challenge
And thanks to my long-lost twine, I'm playing along with Crafty Hazelnut's Christmas Challenge - Use something forgotten  or never used  and Oldie But a Goodie - Christmas

Just buzzing by

This week the challenge at Less is More is Little Creatures and Addicted to CAS it is Vellum. I'm off to spend a week with my Mum tomorrow and will have no crafting goodies with me and very little internet access, so I wanted to make a quick card that would work for both challenges.

I'd spotted this tiny bee stamp when I was sorting out a box of neglected stamps the other day - I've had it for years and I think it came from an American company called Raindrops on Roses. I've got lots of odds and ends of vellum but I hardly ever use it. The blue and green I've used for the grass and sky were actually card inserts, with a printed greeting on them (I've used the greeting from one piece inside the card). The "right" side is smooth and shiny, but the "wrong" side has little ridges that I think gives more interest to the card. I'd run out of specialist vellum adhesive so I put everything through the Xyron to give it an even layer of adhesive so that there would be no "glue lines"

Wednesday 15 October 2014

Autumn Leaves (again)

You could be forgiven for thinking that I have a bit of an obsession with autumn leaves, and if you looked through my collection of rubberstamps and the colours of my inkpads, your suspicions would be confirmed. But really, how could I NOT have when they make the garden look as beautiful as this?


This time I have used a double sided stamp. One side stamps the leaf and the other the veins. For the leaf, I used a very old Adirondack rainbow pad, Cabin Fever, that is so old the colours have more or less merged, giving a very subtle variation in shade that is really useful at this time of year! The veins are embossed with an ultra-fine gold embossing powder. To give the card texture and interest without adding  any more layers, I embossed just the right hand side of the front with a Darice Autumn Leaves embossing folder.


I'm joining in with:
Less is More - One Layer, two ( stamped leaves)
Ooh La La Creations - Inspired by Nature  (you can see my inspiration photo at the top of the post)
CAS on Sunday - Embossing (a double whammy, both heat and dry embossing)

Delving in my bits box....

.... I came across this metallic butterfly embellishment that I've been hoarding for years. So long, in fact, that it's  actually starting to show some brown patches of corrosion. What to do - throw it away? Try to colour it to hide the brown? Or perhaps celebrate the colour variation by using it on a card that featured co-ordinating shades? As so many of my odds and ends are in the brown/green colour families, I decided that was the way forward. So here we are - everything on this card apart from the blue chevron pattern washi tape and the base card itself is left over from some other project. The butterfly strip along the top is just an offcut of silver mirri card, carefully positioned in a folder before embossing.

Now it's all assembled, I wish I'd had a little more of the turquoise card and layered the two tags onto it to lift then out from the background a little more.


I'm playing along with

Snippets Playground at Pixie's Crafty Workshop
Butterfly challenge 16 - Butterfly and a tag

Tuesday 14 October 2014

Simply Stencilled

I've been digging around in my "Christmas Bits Box" and found the numbers 2 and 5, die cut from strong plastic. They were part of a festive card making goody bag years ago, and I've never quite worked out what they were intended for. However I thought they looked pretty useful as stencils, if only I could hold them firmly in place.

Aha! A brainwave! I popped a repositionable adhesive cartridge into my trusty old Xyron and hey presto - they now stay securely in place yet can be lifted off without leaving a trace. My Xyron often comes under threat of disposal, as I seldom use it, finding the cartridges expensive and hard-to-find,  then it works a bit of magic for me and it's reprieved once more.

With such HUGE numbers, there wasn't going to be much room for anything else, even on a large A5 card. So I decided to make the most of that fact and create a very clean and simple Christmas card. On a panel slightly smaller than the card, I positioned the stencils then sponged over them randomly with Crushed Olive and Forest Moss distress inks. They lifted off cleanly to give a very striking result. All that was needed then was to edge the panel and stamp the greeting with more Forest Moss.


I'm playing along with

Addicted to CAS Challenge 49 - Stencil
Make My Monday Numbers

Super Simple Smoked Mackerel Paté

I would normally have used lemon juice rather than lime in this, but I ran out of lemons and there was half a lime in the fridge, and it worked beautifully, in fact I'm going to stick to lime from now on.

This is one of those ultra quick dishes where the reward-to-effort ratio is weighted heavily in your favour. And it can be prepared well in advance, in fact it benefits from a couple of hours in the fridge but make sure you cover it tightly to avoid the smell being picked up by other foods. Fish paté that tastes of fish is lovely - strawberries that taste of fish are rather less appetising!

Ingredients - serves 4 as a starter or light lunch

250g pack smoked mackerel fillets
180g pack of full fat cream cheese such as Philadelphia
2 tbs double cream
2 tsp creamed horseradish
juice of half a lime

Simply put all the ingredients into a food processor or blender and whizz until smooth, then fill a pot or individual ramekins and chill until required.

An Easel Card

This week at Cardz 4 Guyz we would like you to share an easel card - one suitable for a man, of course!

My DT card is made using a decoupage and paper which will be on the forthcoming La Pashe CD, The Best of La Pashe 2014  but are also included in the Male Hobbies download available from the site. Not that painting is an exclusively male hobby, but on the other hand this is a card that any artistically inclined man would really appreciate.

I hope my art > easel  train of thought isn't too much of a cliché! To make the raised part of the bottom of the card that the easel rests against, I cut an artists palette shape freehand from some kraft card and added paint splodges cut from some of the backing paper. And as a finishing touch I added a couple of small paintbrushes that have been sitting in my craft stash for years - they came with a glass painting kit but I preferred to use my existing brushes. I always knew they would come in handy some time! If you wanted to make a similar card but didn't have any spare paintbrushes, one or two small pencils would do the trick.


I'm joining in with
Crafty Hazelnut's Patterned Paper Challenge for October
Crafting at the Weekend - Challenge 6

Monday 13 October 2014

I'm dreaming of a lilac Christmas

This pretty sheet of die cut decoupage was just begging to be made into a pretty card with lilac and purple cardstock and some ribbons, lace and pearls.
.


It's yet another of the Kanban sheets from Foil Play; don't forget you can win a set of 20 assorted sheets in my blog candy!

I'm playing along with Winter Wonderland where this week's theme is Lace and Pearls.