Thursday 29 August 2019

Pretty in Pink

Sometimes a stamping platform makes the impossible possible...

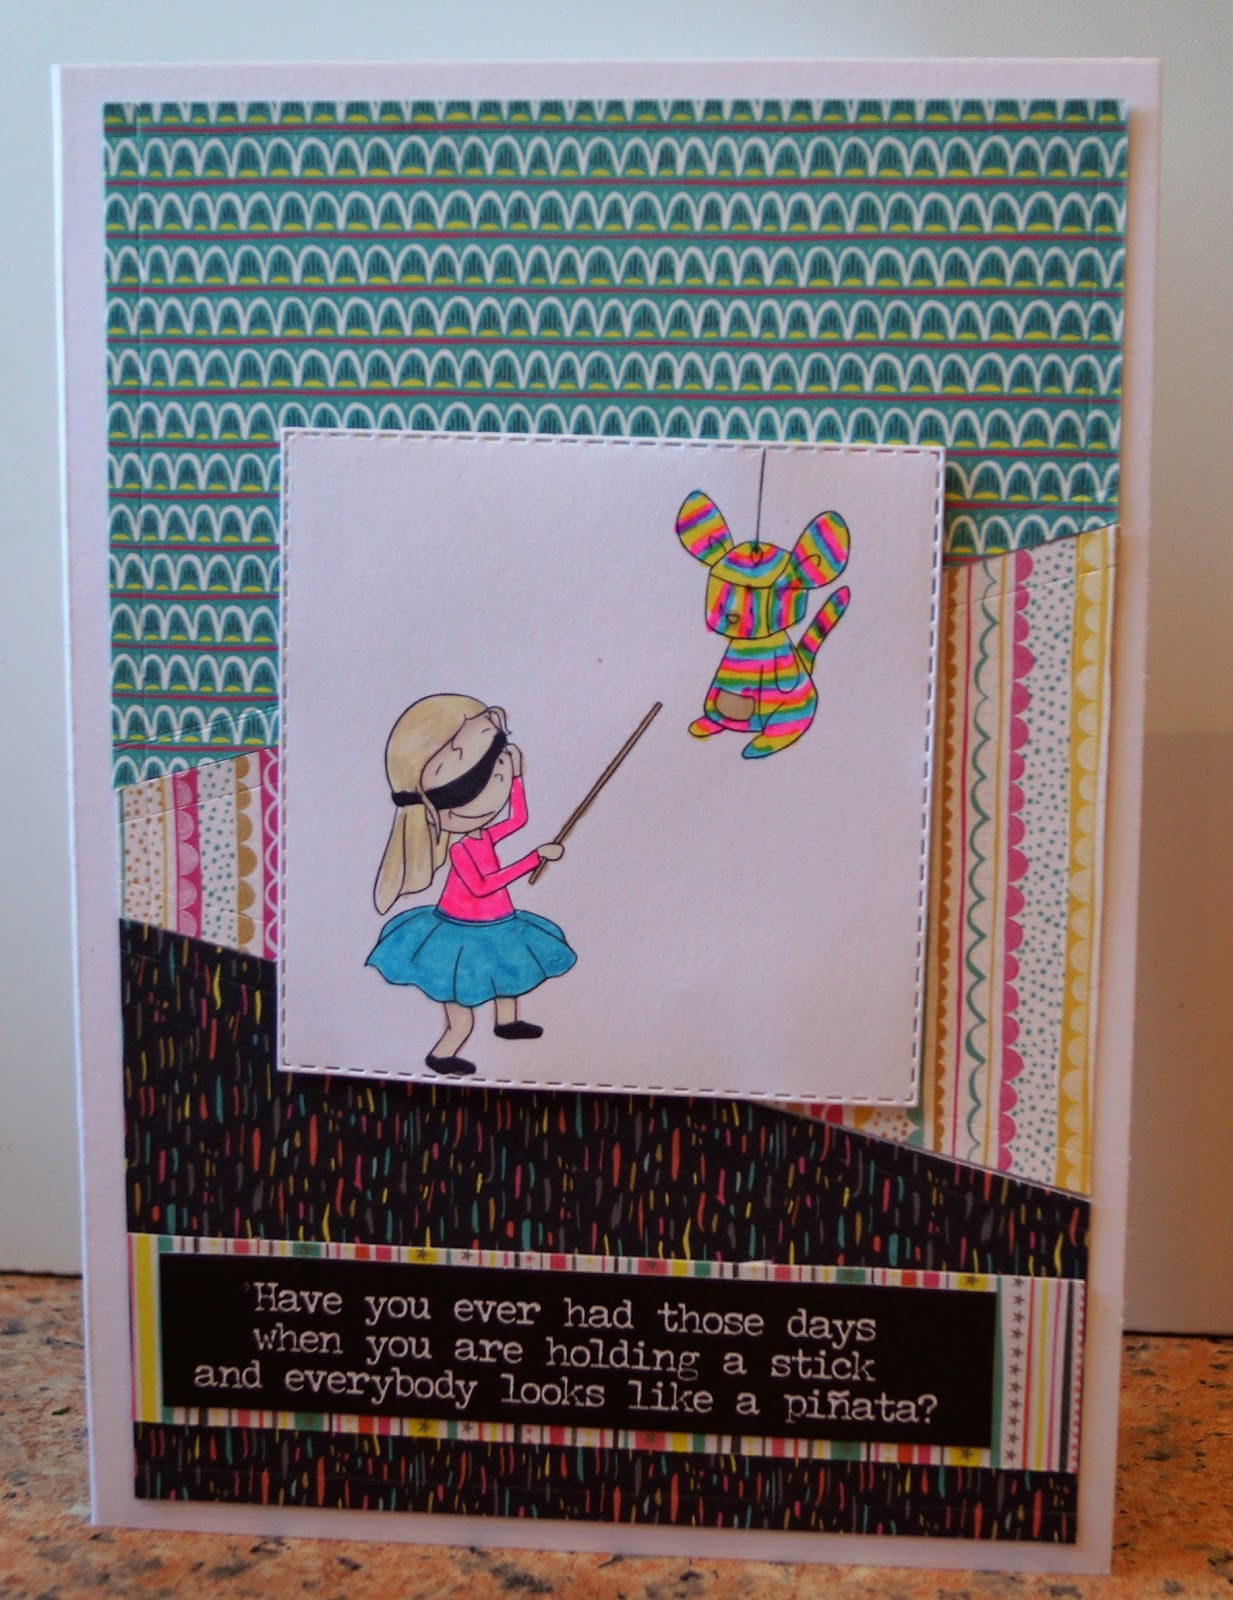
Although I've used ink pads in two shades of pink, neither of them shows up very much with a single impression. Thanks to my Misti, I can stamp over and over again and know that the image will always line up precisely so I can repeat until the colours are my desired intensity.


I also used it to make sure all the corners were precisely in the same position. All the stamps are from a Hot Off The Press set.

I am sharing this with

Addicted to Stamps and More - Anything goes 

Sweet Stampin - Pretty in Pink 

Tuesday 27 August 2019

Celebrate at Cardz 4 Guyz

Have you got something to celebrate? If so, why not make a card for it and share it with us at Cardz 4 Guyz, because that's our new theme.


My stamped sentiment uses a very old Hot Off The Press stamp - it must be about 25 years old because it's from the very first kit I bought from QVC. The stamps, dies and embossing folder I used for the rest of the card came with a magazine 2 0r 3 years ago and the colouring is done with Promarkers.

Monday 26 August 2019

Any Dream Will Do

I've been singing that all day, because I've just found out that the technique I've always called "Emboss resist over a multicoloured inky background" is also known by the much snappier name of  "Joseph's Coat"  - and that led me to think of Joseph and the Amazing Technicolour Dreamcoat and hence the song Any Dream Will Do.

I'm waffling too much, aren't I? Here's the card!


I made a background using distress inks in red and two shades of green then used clear embossing powder and Versamark ink to heat emboss the wonderful Uniko Block Party Christmas stamp over it. Finally I sponged black Versafine ink all over and buffed the raised areas with a tissue.

I am sharing this with

52 Christmas Card Throwdown - Joseph's Coat 


Crafty Hazelnut's Christmas Challenge - Embossing wet/dry 

Sunday 25 August 2019

A new dragonfly die

You know all about me and dragonflies by now - so you'll understand that I simply couldn't resist this beautiful Tonic Studios die and had to open and use it as soon as it popped through the letterbox.


I made a DL card from kraft cardstock and used the piece of card I'd cut off the A4 sheet to cut and emboss the gorgeous dragonfly swirl, backed with Stick-it. I used a fingertip dauber to dab a tiny bit of Tea Dye distress ink over the two dragonflies, just so they didn't merge with the swirls quite so much.

For the background I cut a white panel then inked it all over with Twisted Citron distress oxide, sprayed a little water over where I wanted the die cut to go and blotted it off to give some slightly lighter areas. I used Tea Dye distress ink to stencil the broken mesh in opposite corners and with the same ink, used the Gentleman Crafter stamp set  to stamp a few dotty clusters.

The sentiment is stamped with a Paper Artsy stamp and Versafine ink.

I am sharing this with

The Butterfly Challenge - I've used just two elements, Key Lime and Kraft

Crafty Cardmakers - It's a bug's life  - this is my first visit to this challenge. I can't believe it's run for 239 challenges and I've never heard of it before!

August Rudolph Day

If it's the 25th it must be Rudolph Day at Scrappymo's - and what better theme for a Rudolph Day card than reindeer?


I used a topper and sentiment from Hunkydory and cut out just the border from the coordinating background card and finished it off with some star shaped gems.

Up, Up and Away.

I've just realised we've not seen any hot air balloons floating over the garden this year - usually they are quite a common sight on summer evenings. I wonder why they're not around so much?


For this card I made a smooshed distress ink background and stamped the Crafty Individuals balloon collage stamp on it, highlighted the lettering with a white gel pen than matted and layered onto white and black card. I used the same distress ink to stencil the concentric circles pattern over the card base and added a tiny balloon charm using knotted grosgrain ribbon. (I seldom use ribbon on masculine cards but when I do, I feel knots are more appropriate than bows and grosgrain more appropriate than satin or organza)

I am sharing this with

The Male Room - Flight 


Watercooler Wednesday - Masculine Anything Goes 


Saturday 24 August 2019

Tropical heatwave

The sunshine is back! It's a bank holiday weekend for most of the UK, which usually brings wind and rain, but this weekend it's wall to wall sunshine. Almost - but not quite - tropical.


I used the Paradise and Paradise Leaves stamp sets from Uniko, coloured everything with Promarkers  then cut everything out leaving a narrow white border (Oh, I wish I had dies to match those stamps!). Now one thing that bothers me with the toucan is that he always seems to be floating in mid air - I've tried using masking to give him a branch to sit on, but never managed to make it look right. This time I die cut a branch for him then cut little slots in the image and threaded his feet over the branch so the tail hung down behind. Not 100% there yet but it looks a lot better.  Finally I finished it off with a little resin toucan charm which I tied to the branch with ribbon.

I am sharing this with

Allsorts Challenge - Feminine 
Sparkles Monthly - Tropical Vacation 
Passion for Promarkers - Add a charm 

Sisterhood of Snarky Stampers #142 - V is for Violent

It's time for our latest challenge at the Sisterhood of Snarky Stampers and if I were you I'd keep well away from Edna as she's feeling violent!


This challenge gave me a great excuse to use one of the fab Tim Holtz snarky sentiment stickers.


I got the girl with pinata digi from Kinda Cute by Patricia Alvarez and coloured it in suitably violent colours with fluorescent Promarkers - I didn't know until recently that they even made fluorescent ones. I found some equally migraine-inducing papers in my stash and thought I would use the perforation wheel of my paper trimmer to give them a faux stitched edge. It took me ages and the result doesn't show up at all.... it's enough to drive me to violence....

Wednesday 21 August 2019

Beach Bird

I love the Woodcraft seagull stamp I've used here - he's so bold and CAS and being a stylised gull, he  can be coloured to represent any gull you like (except a tern, the tail's all wrong for a tern). Today he is being a black headed gull, after a fashion!


The post and the smaller font sentiment stamps come from the same stamp set as he does, and the rest of the stamps from a set that came with Creative Stamping earlier this year. I've used paper piecing for everything but the backgrounds - the beach huts are pieced together from a crazy selection of stripey snippets and I used a pale fawn vellum for the gull on that card to make him look like an immature one. One of my earliest memories is of a seagull swooping down and stealing some of my Dad's chips while were were strolling along the promenade at Torquay so the sentiment on the birthday card means a lot to me!

I am sharing the pair of cards at

Twofers - nautical  


A Place to Start - Paper piecing

Addicted to Stamps and More - photo inspiration  - I used the overall beach/seaside theme  and the bird on the branch


Now here's a closer look at the cards separately


I am sharing the second card with

CASology - Water 

Tuesday 20 August 2019

One layer dragonflies

I seem to be making more and more one layer cards these days, they no longer terrify me the way they used to!


Here I've used a Uniko stencil and 3 shades of green ink to create a border along the bottom of my card. I had planned to do something completely different with the card but when I removed the stencil the first thing I thought was how like a reed bed it looked, so naturally out came a dragonfly stamp.

I am sharing this with

AAA Cards - Along the edge (I didn't use the optional twist this time)


Less is More - One layer, stencils 


Addicted to CAS - One layer

Hummingbird tag

A few weeks ago I found a bundle of embellishments, die cuts and tags tucked away deep in my stash and decided it was about time I actually USED them. Here's a card I made from a selection of the elements plus a few papers from my stash.


I love those little dragonflies on the tag! I don't know whether pink hummingbirds actually exist in real life, I've never seen a pink one, but it does look pretty!

I am sharing this with Cardz 4 Galz - Wings. 

Monday 19 August 2019

An elf-y Christmas

My Christmas Snippets box is threatening to explode - I just can't throw away a scrap of Christmas paper, an image I've stamped but not used or a sentiment I've cut out and then changed my mind about! So I had a bit of a blitz that resulted in this card, which used nothing new at all apart from a piece of ribbon.


I put the two papers together because neither was big enough to cover the card, but I reckon that torn edge makes it look like a planned arrangement. The elf was already stamped and I used Promarkers and a gel pen to colour her to match all the other bits and bobs. The die cut snowflake  was one I had rejected for a project because I  have never, EVER managed to extract a die cut from that die totally intact - however using it behind the topper has hidden the join where I stuck it back together. The sentiment and candi are leftovers from an old Craftwork Cards goody bag.

Naturally I am taking this over to the Snippets Playground   and because of that little elf I am also sharing at 52 Christmas Card Throwdown 
 

Vintage tag

As a change from a Christmas card, today I've made a tag (well to tell the truth I've made a tag AND a card but I'm in a bit of a rush right now as I have a hot, steamy date with the iron so I'll share the card later).


I used a very old Crafty Individuals paper to cover the tag, and distressed and inked the edges. The crib scene is a little plywood embellishment from my stash - I love the fact that they've included Halley's Comet in the scene as  there is a lot of evidence to suggest that the extra bright sky seen in the sky around the probable date of the nativity was actually Halley's Comet.
The angel picture is an extra special embellishment, one of those things you hang on to for years because they seem too special to use. It's actually a miniature reproduction Victorian postcard and it's a complete, accurate reproduction right down to the address, stamp and written greeting on the back - I love it! It's one of the very last ones from a batch I got from Foil Play a few years ago.
I wanted to finish it with a brad but didn't have anything suitable so I punched a hole and threaded ribbon through as usual then used this metallic vintage shanked button, using Pinflair glue around the shank to embed it into the punched hole.

I am sharing this with

Crafty Hazelnut's Christmas Challenge - for a woman or girl/atg 
Jingle Belles - Tag you're it 

Sunday 18 August 2019

Night and Day

I've had this very retro style sun and moon stamp for many, many years, probably since I first started stamping in the 1990s, and I really can't remember  where it came from.


Today I have coloured it with Promarkers and mounted it with foam pads over a background made from a die cut panel inked around the edges and then stamped and heat embossed in silver using a random speckle stamp which is an Anita's one I've had for about 10 years. The sentiment is from a Studio G mini set and is about 5 years old.

I am sharing this with

Allsorts Challenge - Sun, Moon and/or Stars 
Retro Rubber - Anything Goes 

Summer Holidays at CD Sunday PLUS!

It's time for our new challenge at CD Sundays and this time we have a theme for you - Summer Holidays. But more than that, we have some Very Exciting News for you. From today, we will be known as CD Sunday Plus and now, instead of always needing to use something from a CD, you can use a CD, a USB or a Download. This is great news as many manufacturers are moving over to USBs and Downloads for their products. And of course it means you can now use all the digital stamps you've been hoarding!

We're planning to keep to "Anything Goes" for most of our challenges, but just to keep you on your toes we will introduce an occasional themed challenge - and some of those, like the current one, will have one or more prizes.

What could say "Summer Holidays" more than walking along the prom at the seaside, eating fish and chips and trying to keep the seagulls from pinching them?


The sweet decoupage and its matching paper come from the CD The Best of La Pashe 2012.

Saturday 17 August 2019

Inspired by a picture

Outside our hotel room last week there was a picture hanging on the wall that I really loved.


I thought the white silhouette against the brown inky background would work really well with stamping and resist embossing - so here is my take on it.


The stamp I have used is a very, very old one which I think came from a sheet of stamps produced by Trish Bayley - I would think it was around 1995.  I stamped and embossed it with clear powder, then tore paper with a deckle edged ruler to use as a mask to create a frame around it and blended distress inks into the exposed area. After removing the mask, I stamped the sentiment - this stamp is a mere youngster, being from a Hot Off The Press set that I bought from QVC only about 20 years ago!

At first glance this really doesn't look like a one layer card because thanks to the masking, it appears to have more depth than it actually has.

I am sharing this with

Addicted to CAS - One Layer 


Alphabet Challenge - K is for Kind Thoughts 

Sweet Stampin - Clean and Simple 

Retro Rubber - Anything Goes 
RRCB 117

Raise a glass or two!

I've been away for a few days this week - sorry to everyone whose challenges I have missed! It was my birthday while we were away but things didn't exactly go according to plan, with us both ending up in bed with food poisoning. It was a good thing the hotel had comfortable beds!

Anyway, I'm home, well and crafting again now and have used my birthday present from my friend Claire to make this card.


Claire sent me the Hampton Arts stamp set "Aged to Perfection" and I've used an image and sentiment from the set and coloured them with Promarkers. I fussy cut the image and used an assortment of die cuts - stitched square, a square with fancy borders and a bottle and glasses -  to create the scene.

I am sharing this with Passion for Promarkers - Die Cuts and/or Punches

Thursday 15 August 2019

Bon Voyage

I bought this gorgeous set of city skyline stamps from Clearly Besotted earlier this year but I'm ashamed to say this is the first time they have seen ink.


I coloured the scene with watercolours and mounted it on a strip of coordinating card then stamped the sentiment above and below.

I am sharing this with

Addicted to stamps and more - Clean And Simple 


Inkspirational - Travel 


Watercooler Wednesday - All about Occasions  (Bon Voyage)


Little Red Wagon - I'd like to teach the world to sing (New York, New York)

Tuesday 13 August 2019

DIY at Cardz 4 Guyz

I'm actually not here today as I'm away celebrating my birthday,  so this is a scheduled post. Life in blogland carries on as normal, after all, and it's new challenge day at Cardz 4 Guyz where the theme is DIY.


I've gone for a very clean and simple card. I stamped the paint can and brushes and coloured them in with Promarkers then used a ruler and Promarkers to add in the "painted" strips right to the edge of the card. I stamped the sentiment in the first strip and left the second blank  so that when I decide who it is going to I can carefully write in their name.

I am sharing this with

Creative with stamps - Dad or masculine 


The Male Room - Birthday - to celebrate their 6th birthday


AAA Birthday Challenge - For the boys  

Sunday 11 August 2019

Glitter Bauble

It's not often I make a card entirely using die cuts, but here's one that's not only used lots of die cuts but has also made a significant dent in the snippets basket.


The bauble die is a very old Cuttlebug one and I cut it in glitter card. The background is cut from a sheet of brushed copper card which I think came in a Hunkydory kit many years ago. The sentiment and bow are cut from the same snippet of dark blue - but don't the colours look different with one set against the copper card and the other against the glitter?

I am sharing this with
Addicted to Stamps and More - Holiday 


Crafty Hazelnut's Christmas Challenge - No stamp or digital image

52 Christmas Card Throwdown - Copper/Bronze, Dark Blue, Turquoise 


Jingle Belles - Blue Christmas 

CAS Christmas - Glitter 


The Tiger Who Came To Tea

... well of course a tiger would come to tea if it was a birthday tea, wouldn't he?


The tiger stamp is one you've probably seen many times on here as it's one of my all time favourites. I've had it for well over 20 years and it came in a grab bag of unmounted stamps that I bought from a small ad in the back of a craft mag long before the days of online shopping. You didn't always know what to expect with small ads but that one was a real bargain, many of my favourite and most-used stamps came from it.

I used a tiger print background paper, some hessian textured paper, punched jungle leaves with veins added using white gel pen and a sentiment heat embossed in white.

I am sharing this with

The Library Challenge - The Tiger Who Came To Tea 
Little Red Wagon - Happy Booklovers Day 

Saturday 10 August 2019

Sisterhood of Snarky Stampers #141 - RIP

The challenge this fortnight at the Sisterhood of Snarky Stampers is RIP


Now it's up to you  how you interpret that - ripped paper? Ripping yarns? A parachute ripcord? letting rip? or even R.I.P? but whatever you choose, we'd love it if you could include some snark.

I've gone for ripped paper, and made a get well card.


I ripped white weave-effect paper into strips and smeared "bloodstains" on them to represent bandages, then layered them around a stamped sentiment.

Fabulous fuchsias

I always have a struggle when I'm asked to choose my favourite flower - to me flowers are so essential in all their forms that it's like being asked to choose my favourite lung. So I generally opt for whichever flower I'm in the mood for at the time - a luxury one generally doesn't have with lungs! And today I'm in the mood for fuchsias.


I blended pale pink distress ink around the outside of the card, then ran a darker pink pad around the edge. Then I smooshed the darker pink onto my mat, added a splash of water and picked it up on a large paintbrush which I flicked over the card at different angles to produce random splashes and streaks.

After leaving it to dry, I used the Misti to stamp the zig zag stitched border around the card. It wasn't quite long enough to position exactly where I wanted, so when the rest of the card was complete I filled in the gaps with pink pearl enamel dots. Then I stamped the flowers and sentiment and coloured the flowers with Promarkers.  The fuchsia stamp is one I've had for several years  - I *think* it is from Clearly Besotted but it might be Uniko. I'm a big fan of both!

I am sharing this with

Make my Monday - Friendship  
Passion for Promarkers - Flower Power 
The Flower Challenge - Use your favourite flower