Wednesday, 10 September 2014

Autumn Leaves

I love Autumn, and the colours and textures are wonderful craft inspiration! This simple, rather masculine card uses die cut leaves in three very different textures. Although the photo doesn't really show it, the top one is pearlescent, the middle one is coffee-grounds card and the bottom one a very high gloss metallic.


I'm playing along at:

CASology week 112 - Three
Cards4Guyz challenge 35 - Clean and Simple
Just Us Girls #257 - Word Week - Leaves
Curtain Call Challenge - Lovely Leaves


Fanfare!

The music die cut I've used on this card always makes me think of a fanfare - the stave getting bigger towards the right makes it look as if it's getting louder too!

I made the background by die cutting a large circle from scrap paper and then sponging yellow ink around it, dragging it out from  the mask to give a suggestion of a sunburst effect . I often have problems holding shapes  in place while sponging, but I had a brainwave - I folded a piece of  removable tape into a loop, stuck to itself at the end and sticky side out, and used this to hold the mask in place. It came away cleanly with no sticky residue.

I stamped the treble clefs and notes before removing the mask, then after removing it I had a disaster - I dropped a black ink pad inky side down onto the card! Try as I might, I couldn't remove or hide the inky mess, so I had to start all over again.


I'm joining in with the "Black and white and one colour" challenge at CAS on Sunday.

Chocolate Mint

This week there's a colour challenge at Less is More - the chosen colours are Chocolate and Mint. Here's my card for the challenge, made using one of my all-time favourite dies.


Tuesday, 9 September 2014

I'm dreaming of a Scandi Christmas


The current challenge at Winter Wonderland is Scandinavian Style - I thought it would be an ideal opportunity to have a shot at making Scandi style woven paper hearts. It turns out they are a lot easier than they look, so there might be a few appearing on our Christmas tree this year!

I made a large heart to be the focal point of the card, but now I've made a template I'll try scaling it down - tiny hearts might be a bit fiddly to make but I think a row of three of them across a card would look very stylish!


I'm joining in with

Winter Wonderland - Scandinavian Style
Crafty Hazelnut's Christmas Challenge Extra - September

Shades of green

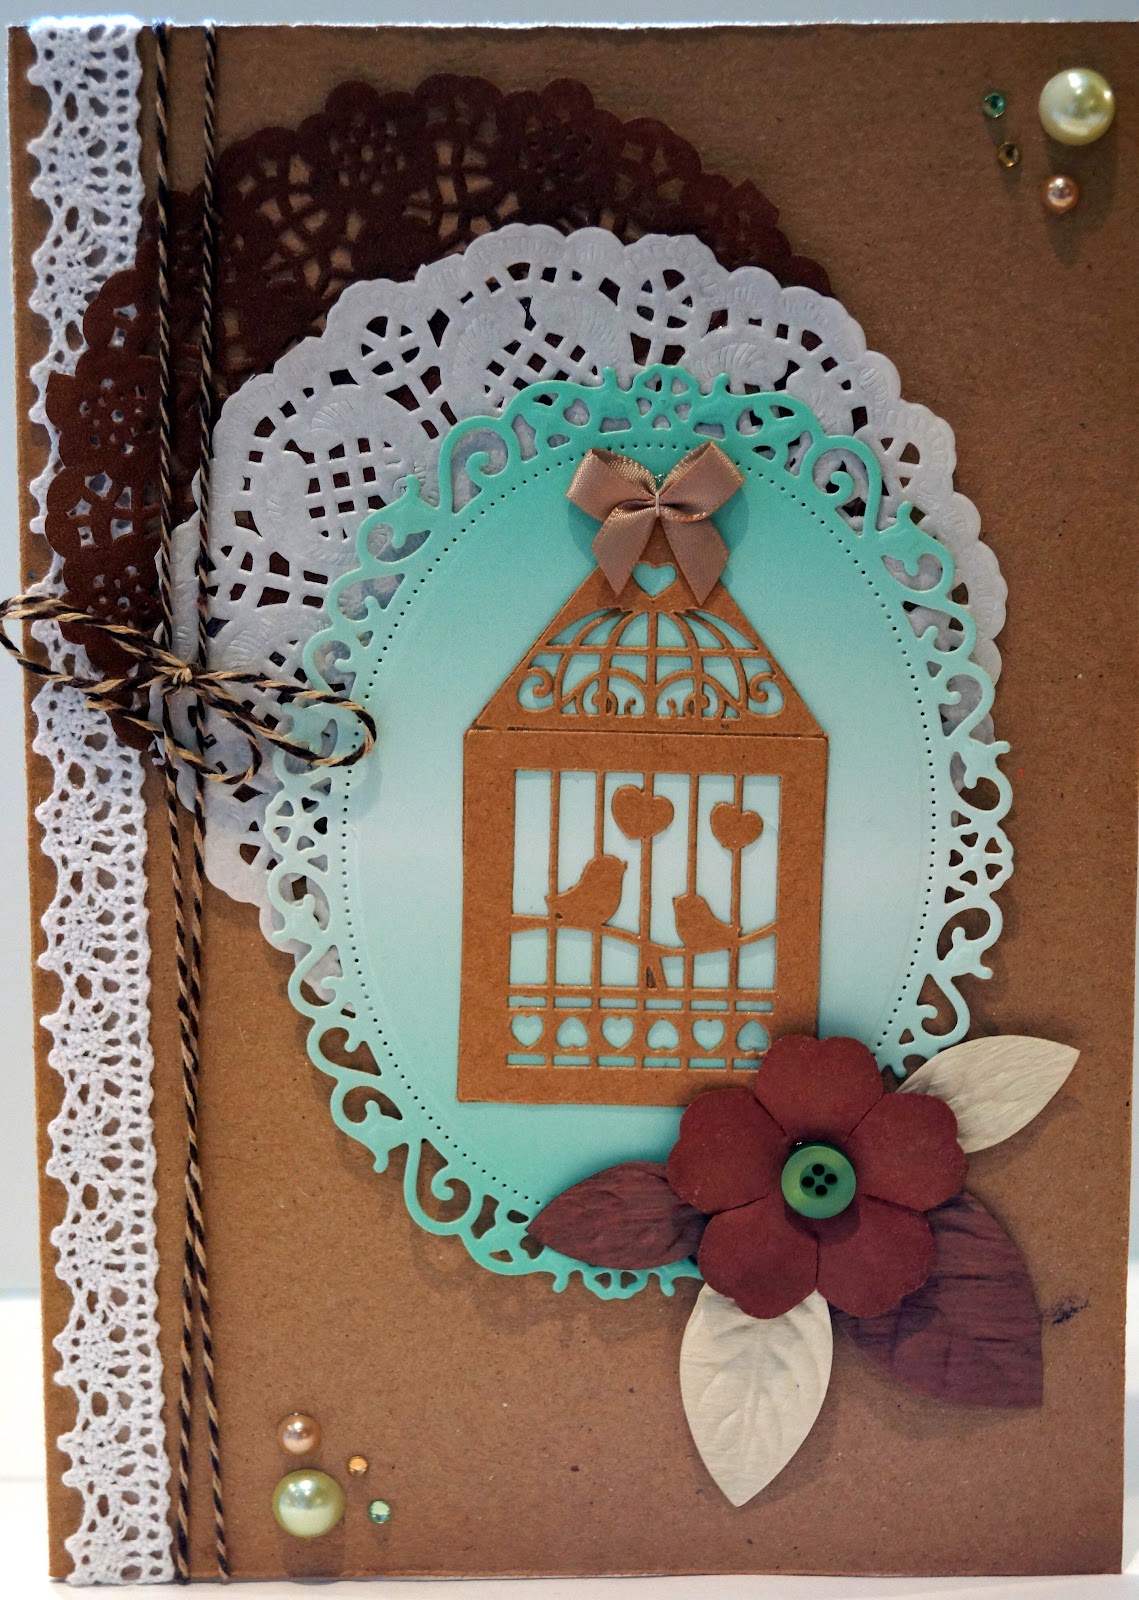
Sometimes one thing leads to another - I was rummaging in my craft bits looking for things that might be useful for the "Mint Chocolate" challenge at Less is More, and found all sorts of brown and green odds and ends that were no way suitable for a CAS card. One of the pices of card was a pretty ombré green card, so I thought it would be great for the O for Ombré challenge which is currently running at Alphabet challenges (note to self - always check the full details of a challenge, not just the title, before making up your entry).


The main card is made from kraft card, with the edges softened with very gentle distressing and inking, and that sweet little kraft birdcage is actually part of a wedding favour. The Range sell packs to make up 10 bird cage shaped boxes, for putting sweets or confetti in, and I cut the panels apart and trimmed of the tabs to leave me with 40 pretty little embellishments.

Anyhoo, when I went to read the challenge more closely, I realised that the idea is to create your OWN ombré effect using different shades of the same colour, rather than incorporating an ombré piece in with other colours, so I'm not submitting this one to the Alphabet challenge. Instead, I'm going to join in for the first time ever at The Kraft Journal, where this week's Make it Mondays challenge is "Anything goes"

So, back to the drawing board, but I was still in the mood for greens, so I assembled a collection of card scraps in shades of green and used a die cut Christmas Tree card blank to make an ombré Christmas Tree. The card is meant to be a Clean and Simple one, but as occasionally happens with CAS, I fear it's gone more over to the "bland" side of things! With hindsight, I should have given the aperture a little more definition with dark green ink before layering the card scraps behind it.

However time - and my patience - are running out, so this is my entry to the current Alphabet challenge  and I promise to do better next time!


Tuesday, 2 September 2014

Something old, something new

That's the title of the new challenge at Craft Room challenge. The idea is to use both something old AND something new on the same card. For this card, my old and new items are both embossing folders. On the top right, I have used the Cuttlebug leaf folder which I bought when I first got my 'bug, years ago, and on the bottom left I've used an Embossalicious folder which was so new I still hadn't taken it out of the packet. So there you are - my oldest and newest embossing folders working together on the same card.

And since it's a Clean and Simple card, I'm also joining in with this week's Clean and Simple challenge at Ooh La La Creations.


Monday, 1 September 2014

Stuffing-crusted roast pork

The fantasy joint of roast pork always has a tempting coating of bubbly, crispy crackling, just like you see in recipe book photos. Sadly the reality is often patches of tough, hard skin with the occasional bubble here and there.

One way round this is to cook the meat and the skin separately. The trouble with this, though, is that the meat can dry out and become tough without its protective coating of skin -  so how about replacing the skin with a layer of sage and onion stuffing to both flavour and protect the meat, as well as being a delicious accompaniment to it?

To make this, I used a piece of boneless pork loin weighing about 750g - you could use a bigger piece but a very big one would need such a long cooking time that it would scorch the stuffing.

First of all, carefully cut off the skin with a little of the fat, making sure there is still some fat covering the surface of the meat. Now use a very sharp knife to cut the skin into strips about 7mm wide and 10 cm long. Put them on a baking sheet that has raised edges all round (to stop the fat running off into the oven) and toss with a sprinkling of salt and 1 tsp sunflower oil, then arrange them on the sheet so they don't touch each other.

If you are cooking the cracking after you cook the pork, scroll down  past the photo now and get started on your stuffing. Otherwise read on.....

The crackling pieces need to cook for 15-20 minutes in a very hot oven, about 200 C (Fan), 220C (non-fan), 400F, gas mark 7. You can either do this ahead of cooking the pork, and serve the crackling cold, or when you take the pork out of the oven to stand and carve you can whack the temperature up and cook it then, if you prefer it hot. Whichever way you do it, as soon as it comes out of the oven use tongs or a slotted spoon to lift the lovely, crispy, curly, bubbly pieces of gorgeousness out of the fat and onto kitchen paper to dry, then see if you can resist eating them before the rest of your meal is ready.


Next you need to prepare the stuffing. Peel two small onions, keeping them whole, place in a small saucepan, cover with water and boil for an hour, then allow to cool slightly and lift the onions out of the pan, keeping the liquid. Meanwhile chop the leaves from a few sprigs of sage in a food processor or blender. I like to use quite a lot of sage, about 30 leaves, but that makes it pretty strong and it's fine to use less. When the onions have cooled a little, add them to the sage in the blender and whizz to a green-flecked pulp. Scrape this into a bowl and add salt and pepper, 50g shredded suet and enough fresh white breadcrumbs to give a stiff mixture - about 75g usually does the trick but it depends on the size and moisture content of the onions. Then add one beaten egg, mixing thoroughly. You need a soft, mouldable consistency - adjust it with either more breadcrumbs or some of the onion water until you have a texture that you can press all over the surface of the pork with your hands, so that it looks like this


Now roast your pork in your usual way,  but remember that because the crackling has been removed it doesn't need that extra-hot blast you are probably used to starting or finishing with. The finished pork will have a crunchy brown stuffing crust. Depending on the cut of pork, you can either slice straight down through stuffing and meat, or remove the stuffing and break into chunks to serve alongside the carved meat.


I used the juices left in the tin to make a cider gravy, or as my mother always calls it, "Gravy that uses cider instead of sock". Yes, sock.