It's yet another cold, wet, windy day here in Hampshire - I'm beginning to think there's some new law been enacted that says the weather has to be terrible every weekend. So I've been rectrating summer on my craft table with these cute ladybird stamps.
I stamped, coloured and die cut them, then prepared the background with a stamped branch and sentiment and a strip of grass effect washi tape (is this the most useful design of washi tape ever created?). Then I used 3D adhesive to add my little bugs.
I am sharing this with
Allsorts Challenge blog - Anything with wings
Shopping our stash - is it summer yet?
Less is More - Big and Small
Sunday, 8 March 2020
A U-fold card
Over at the Butterfly Challenge the special fold this time is a U-fold card. I have made these a few times in the past but not for a few years and I'd forgotten just how simple yet effective they are.
The pink floral paper came from a very old magazine freebie pack. The matting layer is very dark brown but my camera doesn't handle dark colours well and makes them all look black. I think you can see the colour better on the die cut butterfly - it's from the same sheet of card.
This style of card looks rigid but will fold perfectly flat for posting.
I am sharing this with;
The Butterfly Challenge - all 7 elements
Fab 'n' Funky - more than one fold
Crafty Calendar - more than one fold
The pink floral paper came from a very old magazine freebie pack. The matting layer is very dark brown but my camera doesn't handle dark colours well and makes them all look black. I think you can see the colour better on the die cut butterfly - it's from the same sheet of card.
This style of card looks rigid but will fold perfectly flat for posting.
I am sharing this with;
The Butterfly Challenge - all 7 elements
Fab 'n' Funky - more than one fold
Crafty Calendar - more than one fold
Saturday, 7 March 2020
Cats' eyes
No, not the things that go up the middle of roads - but they still glow in the dark!
Inkspirational - Animal, real or magical

Country View Crafts - The eyes have it
Tales from the craft room - Furry friends
Show us Your Pussycats - Furrything Goes
I've had this stamp for many, many years - at least 20 - and I think it may be the first time it's seen ink. I don't know where it came from as it's unmounted rubber.
I decided to keep it very, very CAS to really focus on those golden eyes - coloured with my older Lime Green Promarker that really looks far more golden than green - and just added the sentiment which is from the AAA tower of cats set, then die cut it and centred it on the white card to give maximum white space. I was very, very tempted to add a few pawprints to the background but I think it would have drawn attention away from the eyes.
I am sharing this with
AAA Cards - Maxi White Space

Inkspirational - Animal, real or magical

Country View Crafts - The eyes have it
Tales from the craft room - Furry friends
Show us Your Pussycats - Furrything Goes
SOSS #155 - B is for Booze
The Sistahs love a drink or three - and so does Edna, so this time our challenge at the Sisterhood of Snarky Stampers is B is for Booze.
Naturally it's a favourite theme of mine!
The silhouette is a SoSuzy stamp and the sentiment is from Crafters Companion. The ribbon was a gift from a blogging friend who shares my love of gin.
Now let's see what you can come up with, as snarky as you like, over at SOSS - and you may earn one of our coveted Queen or Princess of Snark badges. What's more, if your boozy make also has a festive tone, how about also linking up to Christmas Kickstart where the Sistahs are guesting for the current challenge of Christmas Cheer AKA Alcohol?
Naturally it's a favourite theme of mine!
The silhouette is a SoSuzy stamp and the sentiment is from Crafters Companion. The ribbon was a gift from a blogging friend who shares my love of gin.
Now let's see what you can come up with, as snarky as you like, over at SOSS - and you may earn one of our coveted Queen or Princess of Snark badges. What's more, if your boozy make also has a festive tone, how about also linking up to Christmas Kickstart where the Sistahs are guesting for the current challenge of Christmas Cheer AKA Alcohol?
Friday, 6 March 2020
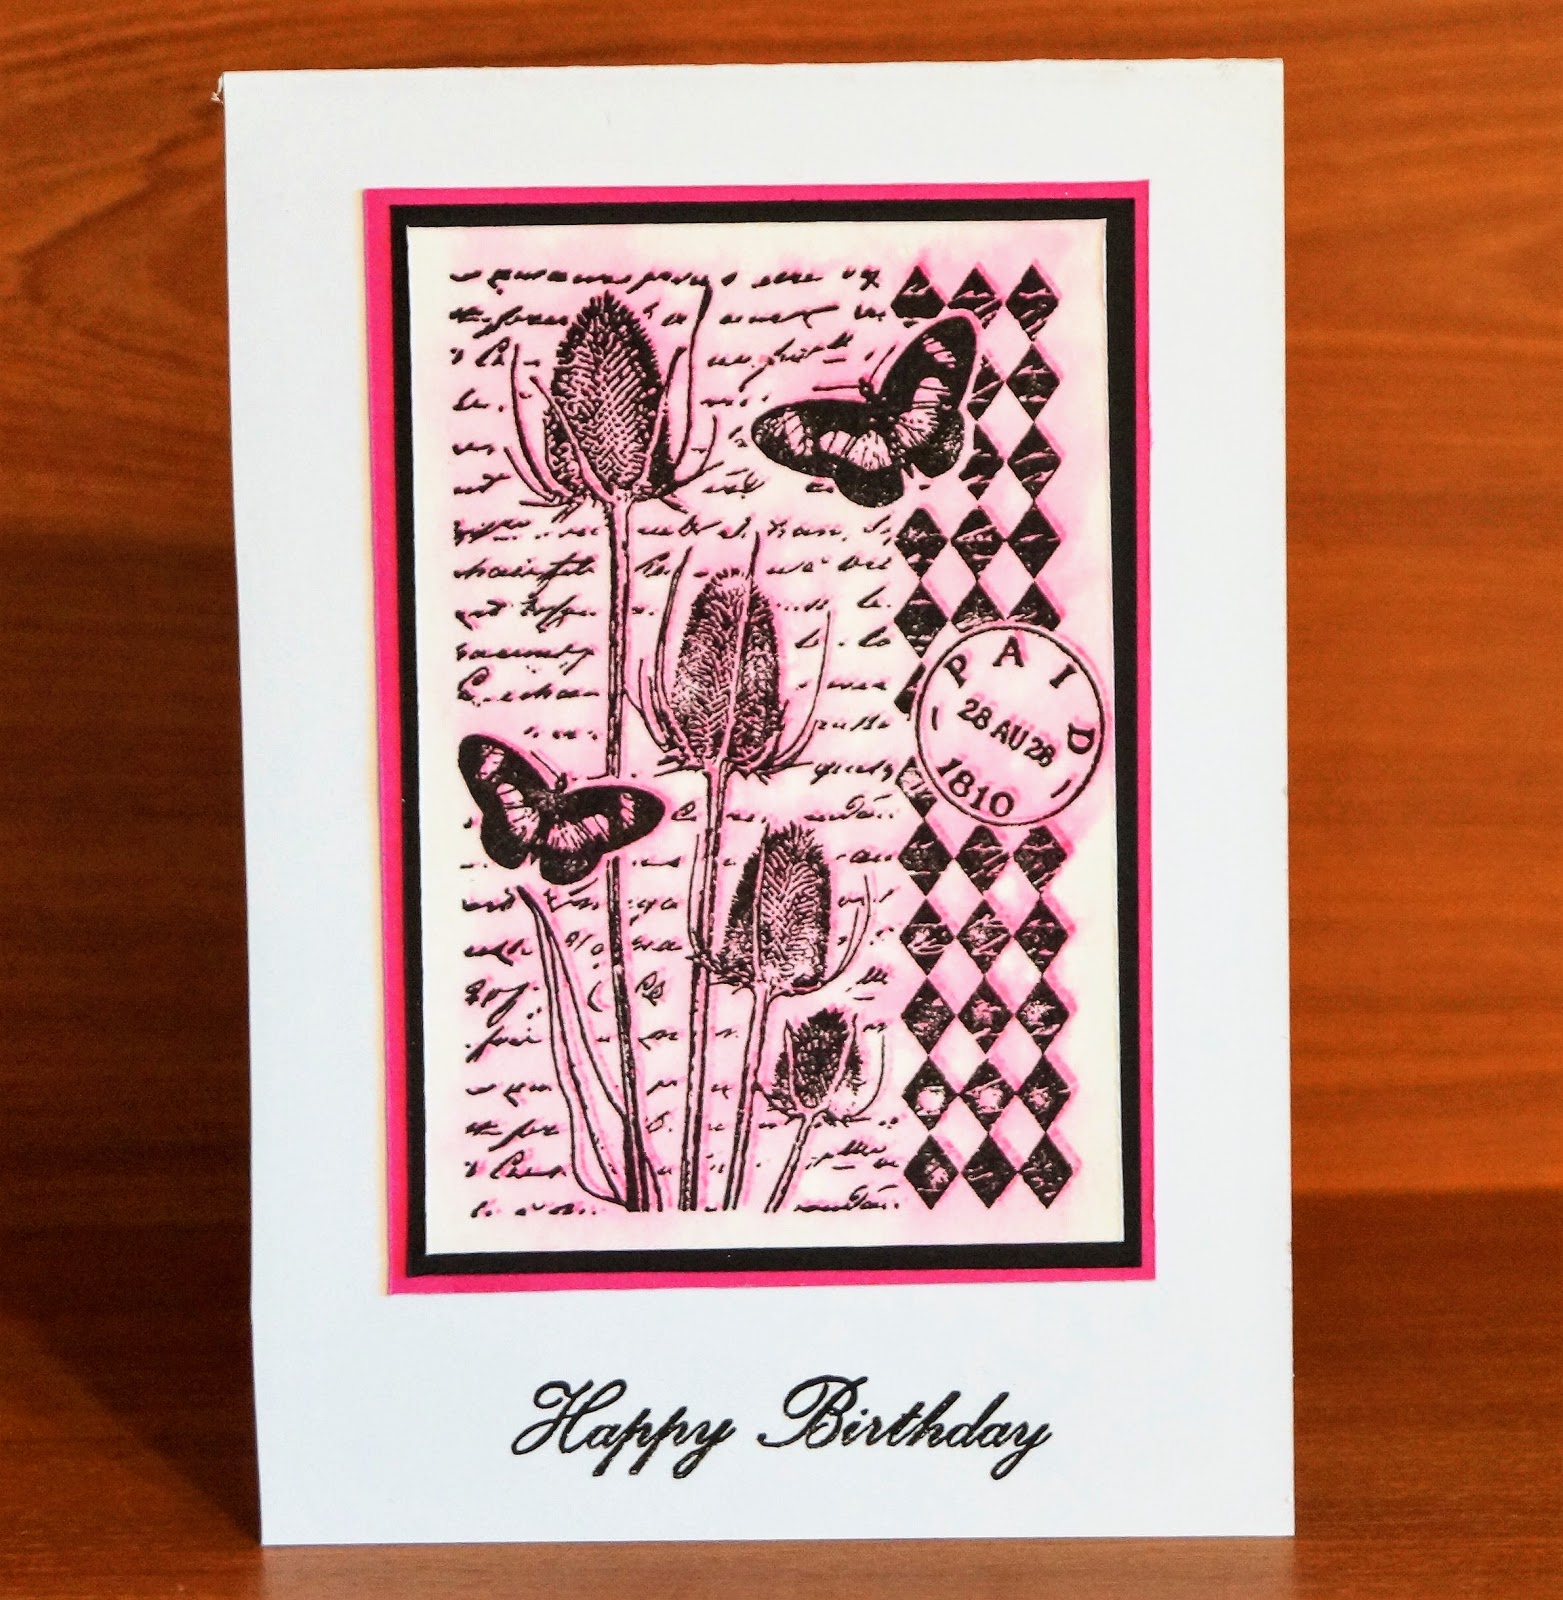
Butterfly and Teasel
I recently posted a card I had made my stamping an image onto watercolour paper, spraying it with water and allowing it to blur then stamping the image over it again to produce a detailed image with a "halo" effect.
Today I decided to try the same technique using contrasting inks instead of monochrome. The first stamping is done in Picked Raspberry distress ink and the second in black Versafine. I think this has worked even better than the original version - I love the ethereal wispy look of the pink wafting out from beneath the crisp black image.
I'll stop getting all poetic about it and share it with:
Make My Monday - In The Pink
The Butterfly Challenge - The letter U - just the one element of Ultra Pink, plus of course my butterflies.
Today I decided to try the same technique using contrasting inks instead of monochrome. The first stamping is done in Picked Raspberry distress ink and the second in black Versafine. I think this has worked even better than the original version - I love the ethereal wispy look of the pink wafting out from beneath the crisp black image.
I'll stop getting all poetic about it and share it with:
Make My Monday - In The Pink
The Butterfly Challenge - The letter U - just the one element of Ultra Pink, plus of course my butterflies.
Thursday, 5 March 2020
Classic fashion
I keep a box full of "semi retired" stamps - ones I've not used for years but don't want to part with - tucked away in the spare room. That's where the daffodil stamp I used for yesterday's stained glass effect card lives, and while i was rummaging for it I spotted this very old Kanban stamp and decided it needed to come out to play.
Although I think the flowers are meant to be pinks, I was in the mood for a blue and lilac colour scheme so today they are being cornflowers. I coloured the image with watercolours and stamped a sentiment onto a piece of paper that I tore out of a magazine several years ago - I knew it would come in handy one day! Then I added the doiley, pearls, ribbon and bow, lace and buttons.
I am sharing this with
Allsorts Challenge - Add three pearls
Little Red Wagon - tie one on
Alphabet Challenge - X for x-tra embellishments
Pearly Sparkles - For the ladies/girls
Watercooler Wednesday - anything goes with a feminine twist
Although I think the flowers are meant to be pinks, I was in the mood for a blue and lilac colour scheme so today they are being cornflowers. I coloured the image with watercolours and stamped a sentiment onto a piece of paper that I tore out of a magazine several years ago - I knew it would come in handy one day! Then I added the doiley, pearls, ribbon and bow, lace and buttons.
I am sharing this with
Allsorts Challenge - Add three pearls
Little Red Wagon - tie one on
Alphabet Challenge - X for x-tra embellishments
Pearly Sparkles - For the ladies/girls
Watercooler Wednesday - anything goes with a feminine twist
Wednesday, 4 March 2020
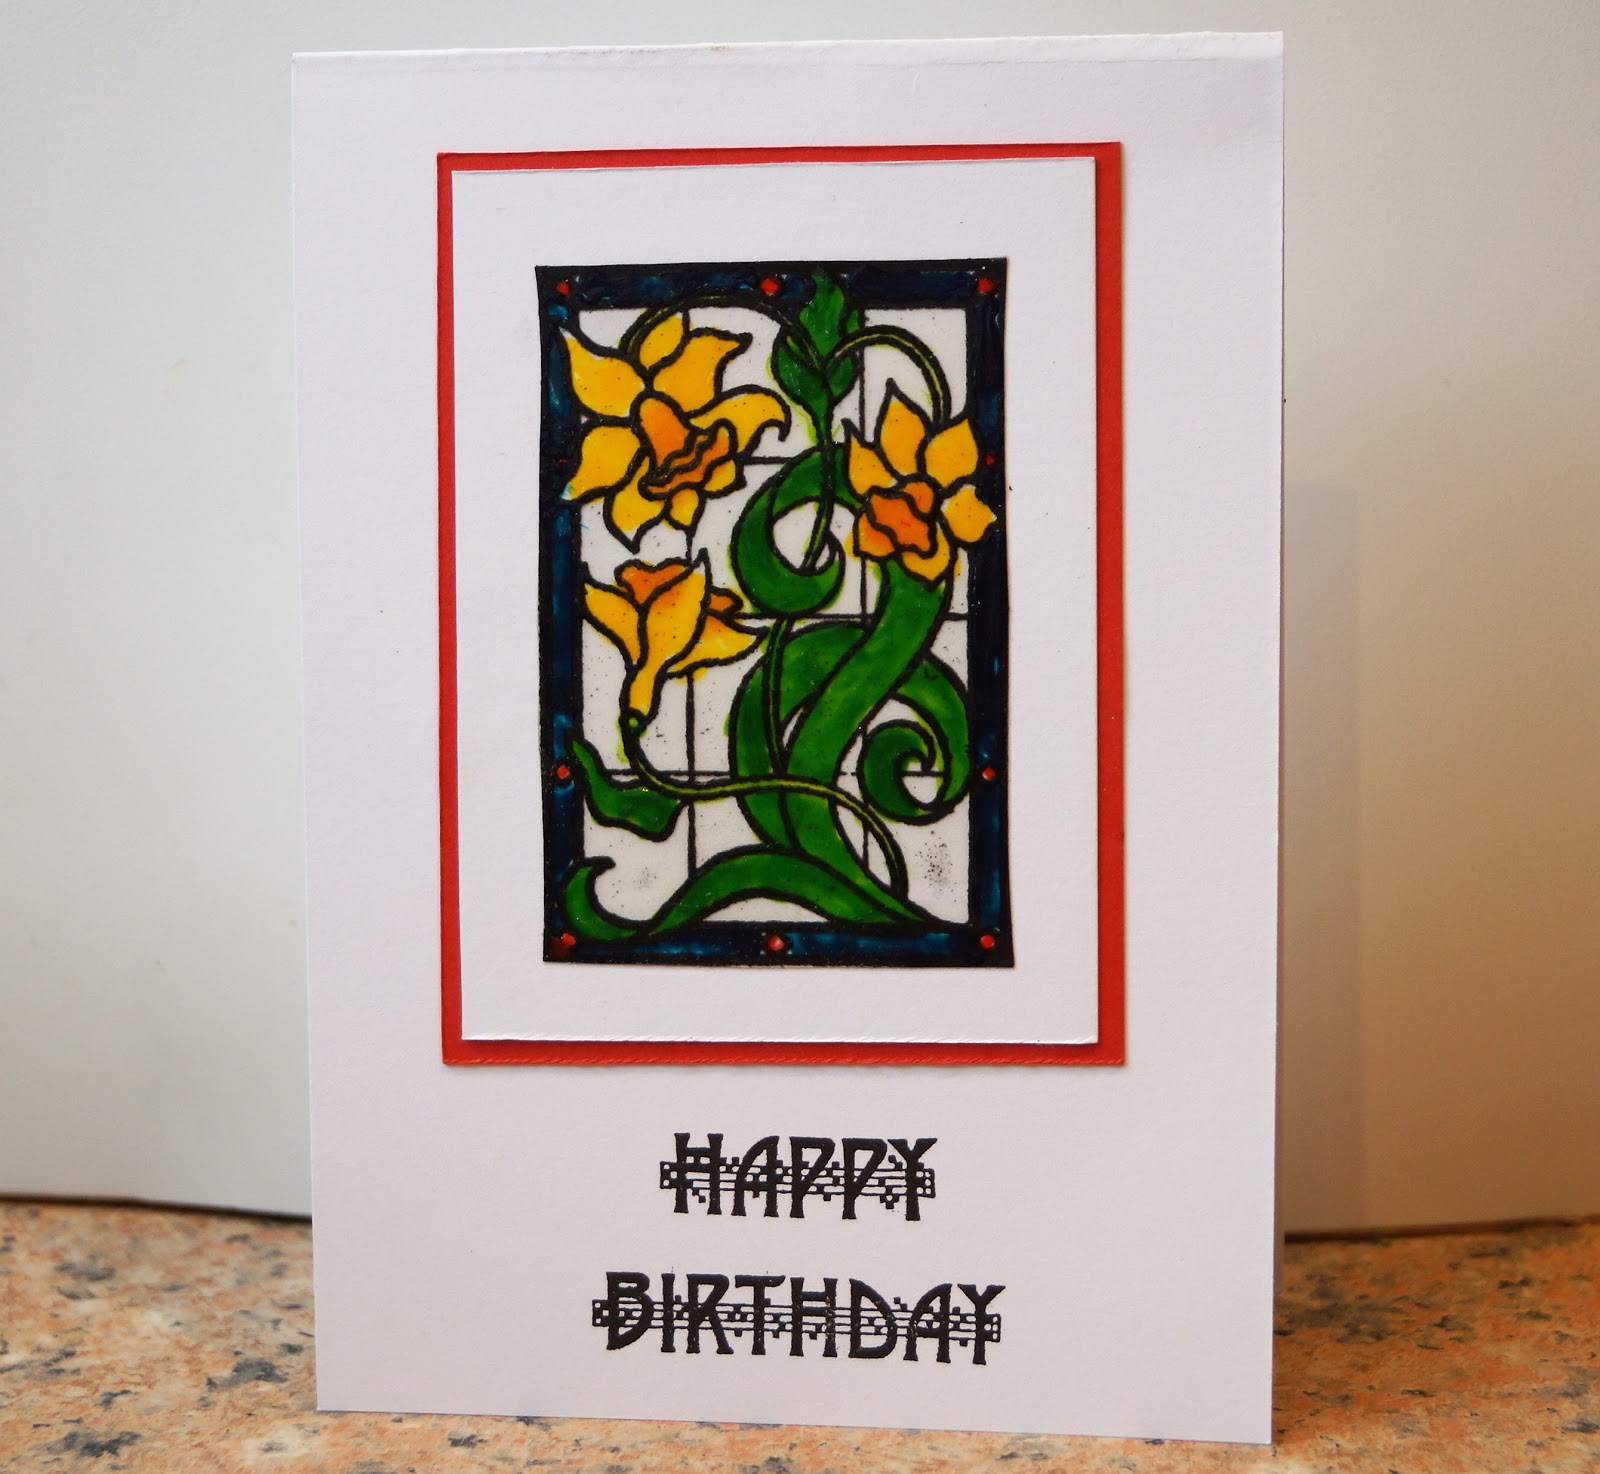
Stained glass daffodils
Google photos tells me that the last time I used this stamp was exactly 5 years ago today. Some things are worth hanging on to!
My interest in glass paining has recently revived and I decided to see how this worked alongside stamping. I used a sheet of heat embossable acetate which I dusted with an anti-static pad before stamping it with Versafine ink and heat embossing with black powder. I would normally use clear powder when embossing on acetate as even when it's been "anti-staticed" it can still show specks, and the cealr doesn't show up so much, but I wanted the heavy black look of the stained glass effect outlines, so I was extra thorough about removing specks before heating. I then painted it normally except that the embossed outlines aren't as deep as when you use outliner from a tube so I had to actually paint in each area rather than flooding them with colour.
When it was dry I trimmed the edges then used spray adhesive to attach it to a white card panel, matted this with red and then stamped an art-deco style sentiment to go with the Tiffany-esque look of the image.
I am sharing this with
Addicted to Stamps and More - CAS

Stamping Sensations - Spring Florals
AAA Birthday - Flowers

My interest in glass paining has recently revived and I decided to see how this worked alongside stamping. I used a sheet of heat embossable acetate which I dusted with an anti-static pad before stamping it with Versafine ink and heat embossing with black powder. I would normally use clear powder when embossing on acetate as even when it's been "anti-staticed" it can still show specks, and the cealr doesn't show up so much, but I wanted the heavy black look of the stained glass effect outlines, so I was extra thorough about removing specks before heating. I then painted it normally except that the embossed outlines aren't as deep as when you use outliner from a tube so I had to actually paint in each area rather than flooding them with colour.
When it was dry I trimmed the edges then used spray adhesive to attach it to a white card panel, matted this with red and then stamped an art-deco style sentiment to go with the Tiffany-esque look of the image.
I am sharing this with
Addicted to Stamps and More - CAS

Stamping Sensations - Spring Florals
AAA Birthday - Flowers

Subscribe to:
Posts (Atom)